Love pancakes for breakfast, but trying to stay on your low carb keto diet? If so, you'll love this easy Keto Pancakes with Coconut Flour recipe! These pancakes are fluffy, delicious and make the best low carb keto breakfast.
Quick Note: This post contains affiliate links to my personal favorite items. If you make a purchase, I’ll receive a small commission at no extra cost to you. Please read my disclosure statement for details. Thank you.
Before you hit that Jump to Recipe button, take a moment to read through the post. I try to include helpful tips, tricks, and commonly asked questions about each of my recipes.
Welcome to My Kitchen Serenity! You are going to just love these low-carb keto pancakes made with cream cheese and coconut flour! They have only 6 net carbs per serving. How awesome is that?!?
We love breakfast on the weekends, and pancakes are always a favorite, but we try to eat pretty healthily. That is where these fantastic pancakes come in. They are full of flavor, fluffy, and don't add a bunch of carbs to our diet like wheat flour pancakes do.
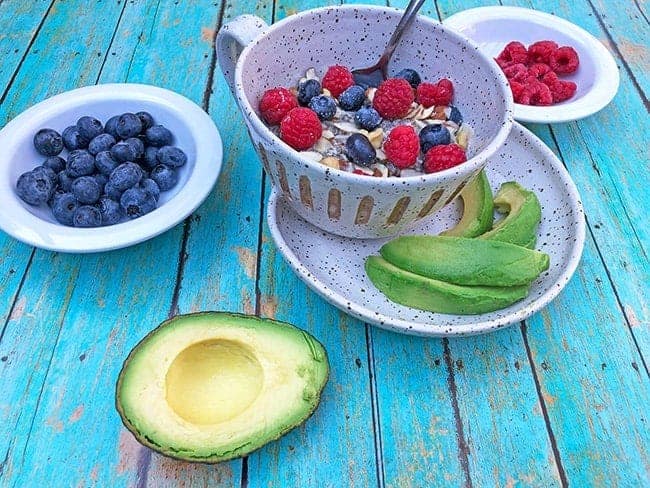
Need another low carb keto breakfast option, try my Low Carb Oatmeal Recipe!
Let’s be social! Follow me on Facebook, Pinterest, and Twitter!
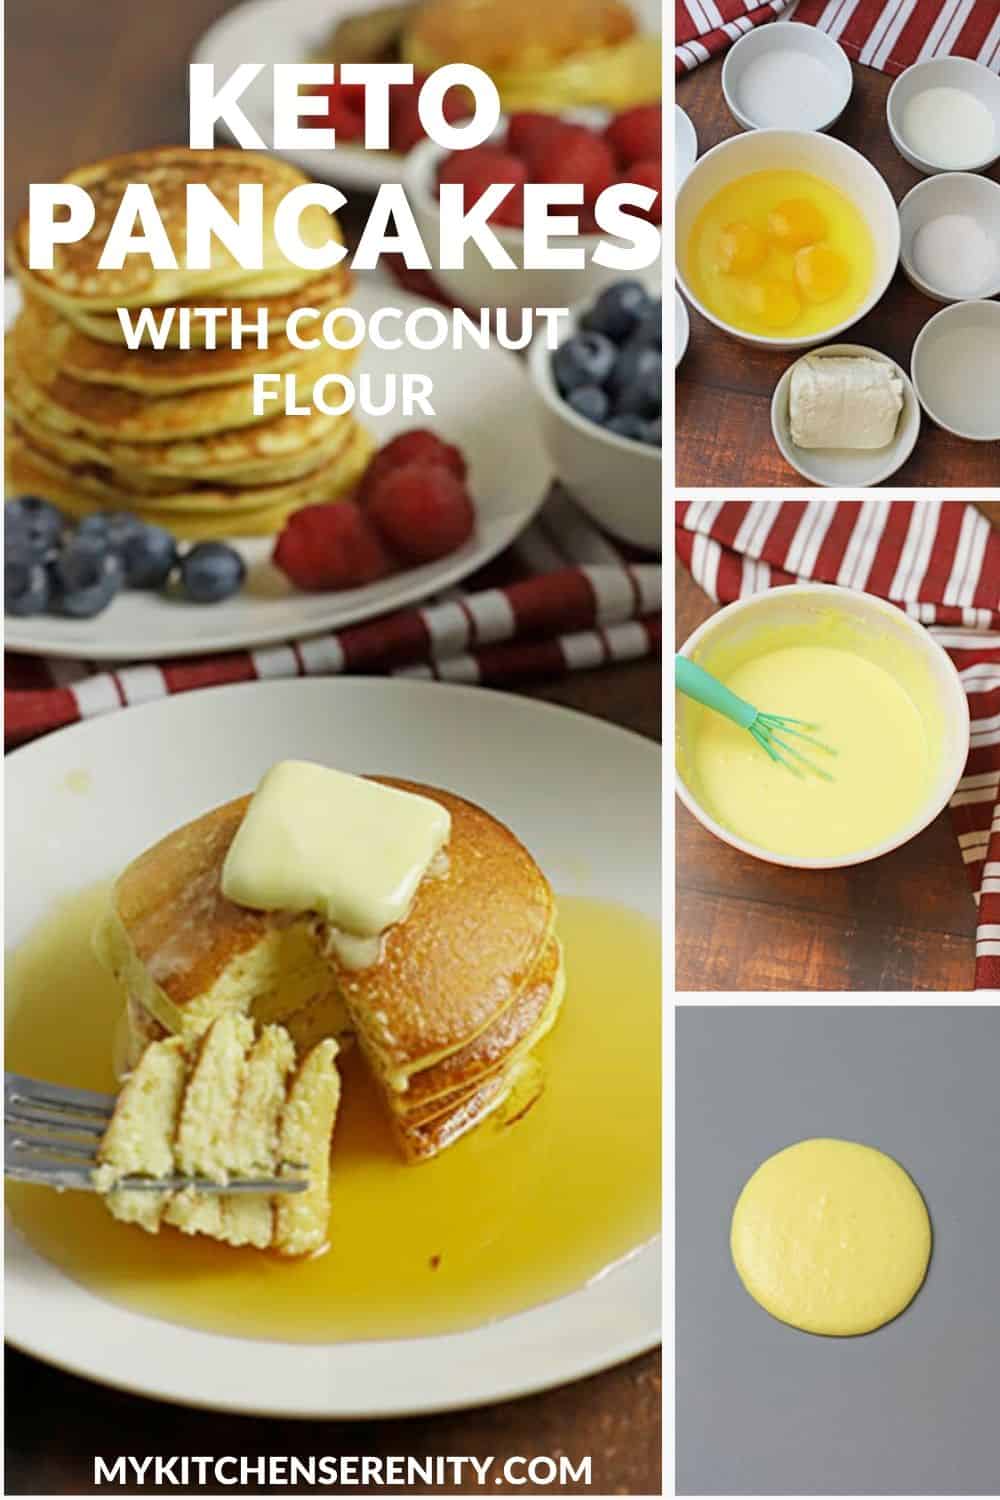
Don't have time to read the whole recipe now???? Save this pin to your Keto, Keto Breakfast, or Breakfast boards on Pinterest.
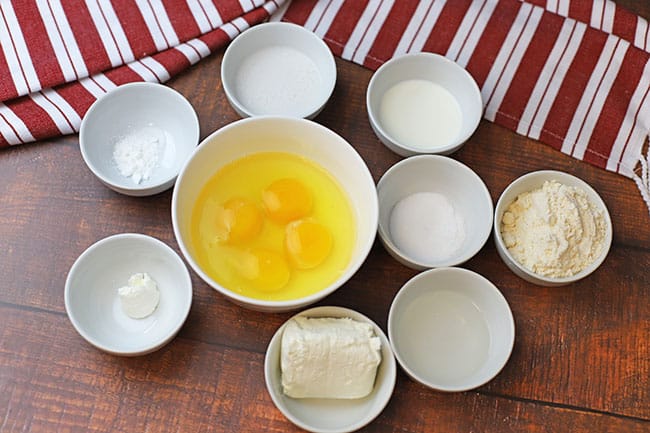
Ingredients for Coconut Flour Keto Pancakes
The ingredients for coconut flour keto pancakes are readily available at your local grocery store. I usually get mine at Wal-mart or Kroger.
Below are the ingredients.
please scroll down to the printable recipe card for detailed ingredient information
- Coconut Flour
- Coconut Milk
- Large eggs
- Cream Cheese
- Half & Half Cream
- Sour Cream
- Monk Fruit
- Water
- Baking Powder
Optional ingredients you can add:
- Vanilla Extract
- Cocoa Mix
Kitchen Goodies You May Need for Your Keto Coconut Flour Pancakes
How to Make Coconut Flour Keto Pancakes from Scratch
This is a pretty simple recipe. If you've made pancakes before (or even if you haven't), you can make this recipe with no problem.
This recipe makes roughly 12 to 15, 4" diameter pancakes. I would not recommend making your pancakes any larger than 4" diameter.
Step 1: Combine all your ingredients in a medium-sized mixing bowl.
I use a medium size (7 inches in diameter), but honestly, it doesn't matter how big your bowl is. As long as you have enough room for all the ingredients and can mix everything up without it all sloshing over the side of the bowl.
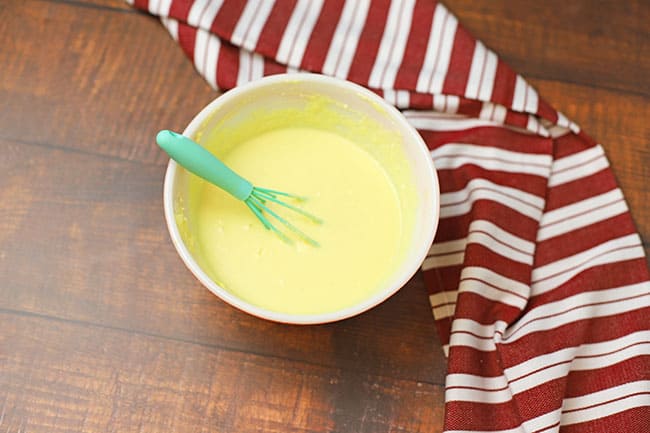
Step 2: Next, mix everything up. Use a mixer or hand whisk to mix the ingredients until you have everything mixed up together.
I have seen some who use a blender to mix up pancake batter. A blender seems a bit unnecessary to me. A mixer or whisk will work fine and is easier to clean up than a blender.
Coconut flour does not absorb moisture like wheat flour. It's going to absorb more moisture (eggs, milk, water, etc.) than you are probably accustomed to.
If you are out of coconut flour or can't find any at the grocery store, there are many great substitutes for coconut flour.
Before cooking the pancakes, I like to let the batter sit for about 5 minutes with an occasional stir. This lets me know if I need to add a bit more flour or liquid. You want the batter to be pourable, but not too runny.
Different brands of coconut flour respond to moisture differently. I'll admit it might be a bit of trial and error to see what works best for the brand that you are using.
If after 5 minutes the batter is too runny, you can add a little more coconut flour. Mix it in and let it sit a bit longer. Conversely, if it is too thick you can add a bit more water.
If the batter gets so thick that you can't pour it onto the griddle, you can add a bit more water.
Looking for more Low-Carb and Keto Recipes?
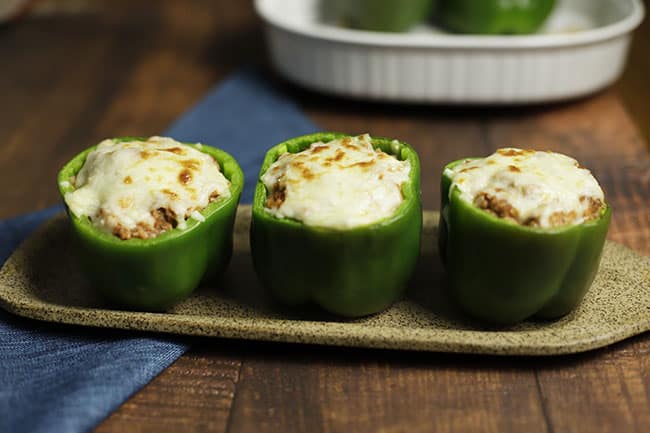
Try our Low Carb Stuffed Bell Peppers. These stuffed bell peppers have been one of my most popular recipes.
Step 3: While you are waiting on the batter to rest, go ahead and get your pan or griddle ready. If your surface isn't non-stick, be sure to spray with non-stick cooking spray. This will make it much easier to flip your pancakes.
Step 4: Preheat your cooking surface (pan or griddle) to medium-low or medium. Getting the right temp is important when it comes to flipping. If possible, opt for the non-stick griddle. The curved edges of a skillet can cause some difficulty when it comes to flipping.
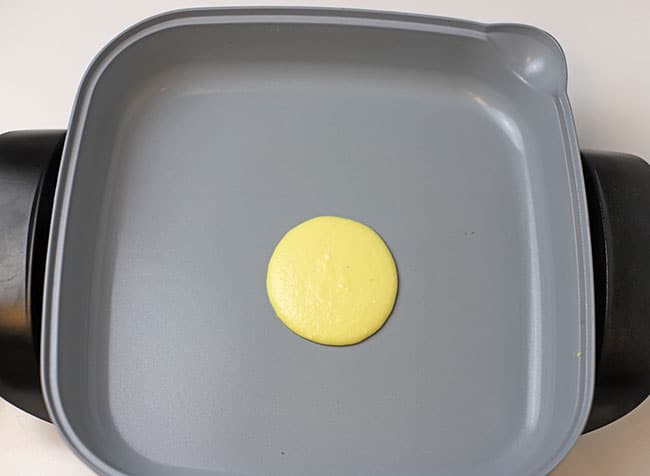
Step 5: Now that you have your batter just right, you can pour the batter in the skillet or onto the griddle. Alternatively, you can use a serving spoon to dish out the batter. Either way, you are going to want to add about ¼ cup of batter.
Step 6: Once your batter begins to cook, allow it to cook about 1-½ to 2 minutes. This time is gonna depend on the thickness of your pancake and your temp. Watch for air bubbles around the pancake. Once the bubbles begin to pop, you know you're getting close to time to flip. You can use your spatula to lift up the edge and take a peek.
Monitor the heat of your cooking surface. You may find that you need to adjust the temp a little. If your temp is too high, you may end up burning your pancakes.
Step 7: Now the tricky part, flipping. This can take a little bit of practice. This is when a spatula with a larger surface comes in handy.
Getting a spatula like a Turner Spatula is going to make your pancake flipping much easier. These spatulas have a nice ergonomic design, very heat resistant, and BPA free.
Slide the spatula underneath the center of the pancake. Raise the pancake and quickly rotate the spatula 180 degrees.
Here is a great article on the art of flipping a pancake.
TIP: Make sure the edge of your spatula is good and clean. The batter can build up along the edge making it harder to scoop and flip. I like to wipe my spatula down between pancakes.
Once you get your pancake flipped, allow it to cook another 1-½ to 2 minutes. Use your spatula to check the underside to make sure your cakes are turning a nice golden brown.
Time to Eat!
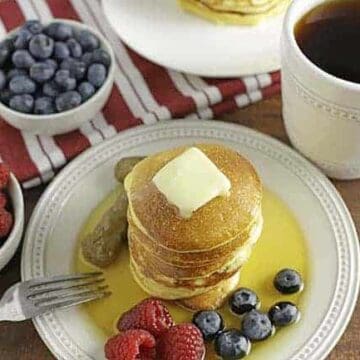
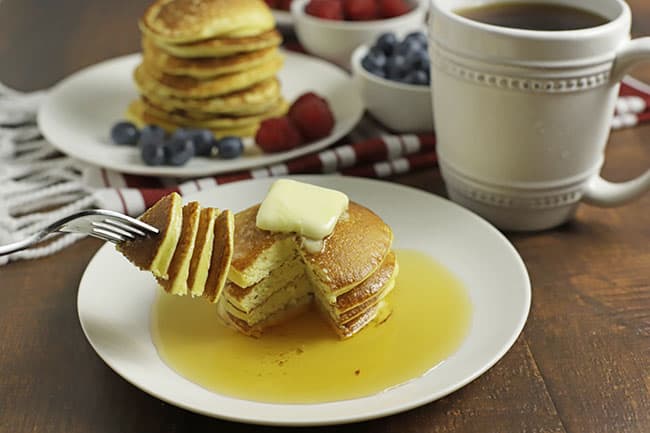
Once you get all your coconut flour pancakes cooked up, it's time to eat. I like to add a bit of butter on top, but you can substitute with ghee if you prefer. In keeping with the low-carb keto theme, we use sugar-free, keto-friendly maple syrup.
If you are not using a non-sticking pan or griddle, be sure to spray some more non-stick cooking spray. This will make sure your pancakes aren't sticking to your cooking surface.
If you have leftover pancakes, just seal in a ziplock bag and reheat in the microwave. These make a great quick breakfast on those busy weekday mornings.
Coconut Flour Pancakes Cooking Tips
- I've found that the cakes are easier to cook and flip if you keep them around 3" - 4" diameter.
- If you are using non-stick cooking spray, respray your skillet or griddle after every couple of pancakes.
- It's easier to get a consistent size cake if you use a scooper or measuring cup.
FAQs about Keto Pancakes with Coconut Flour
Is Coconut Flour Keto Friendly?
Yes! If you are looking to eat keto and low-carb, coconut flour is a great option. It is also higher in fiber and protein than traditional wheat flour.
How Many Carbs are in Coconut Flour?
If you are looking for an alternative to wheat flour, coconut flour offers a great alternative. Coconut flour only contains 6 net grams of carbs per ¼ cup.
Can I Store Leftover Pancake batter?
This recipe makes around a dozen or so 4" pancakes. If you aren't going to eat that many, you may wonder what to do with the leftover batter.
Well, you can put the batter in an airtight bag or container and refrigerate it for a few days.
Oureverydaylife.com has a great guide on how to go about storing your leftover pancake batter in the fridge or freezer.
[mailerlite_form form_id=10]
Recipe
Keto Coconut Flour Pancakes
Equipment
- Non-stick skillet or griddle
Ingredients
- ½ cup Coconut flour
- ¼ cup Coconut milk
- ½ teaspoon Baking powder
- 4 large Eggs
- ½ tablespoon Sour cream
- 4 oz Cream cheese room temperature
- 2 tablespoon Half and half cream
- 1 tablespoon Monk fruit
- 2 ½ tablespoon Water
Instructions
- Add all ingredients in a medium-size mixing bowl
- Mix ingredients thoroughly with a whisk or hand mixer
- Preheat non-stick skillet or griddle on medium heat
- Add ¼ cup of batter for each pancake to your cooking surface
- Once you see bubbles popping at the pancake surface, flip and cook the other side. Cooking on each side should be about 1 ½ minutes.
- Place cooked pancakes on a platter.
Notes
Nutrition
As always, thank you for reading!
Anne


Comments
No Comments