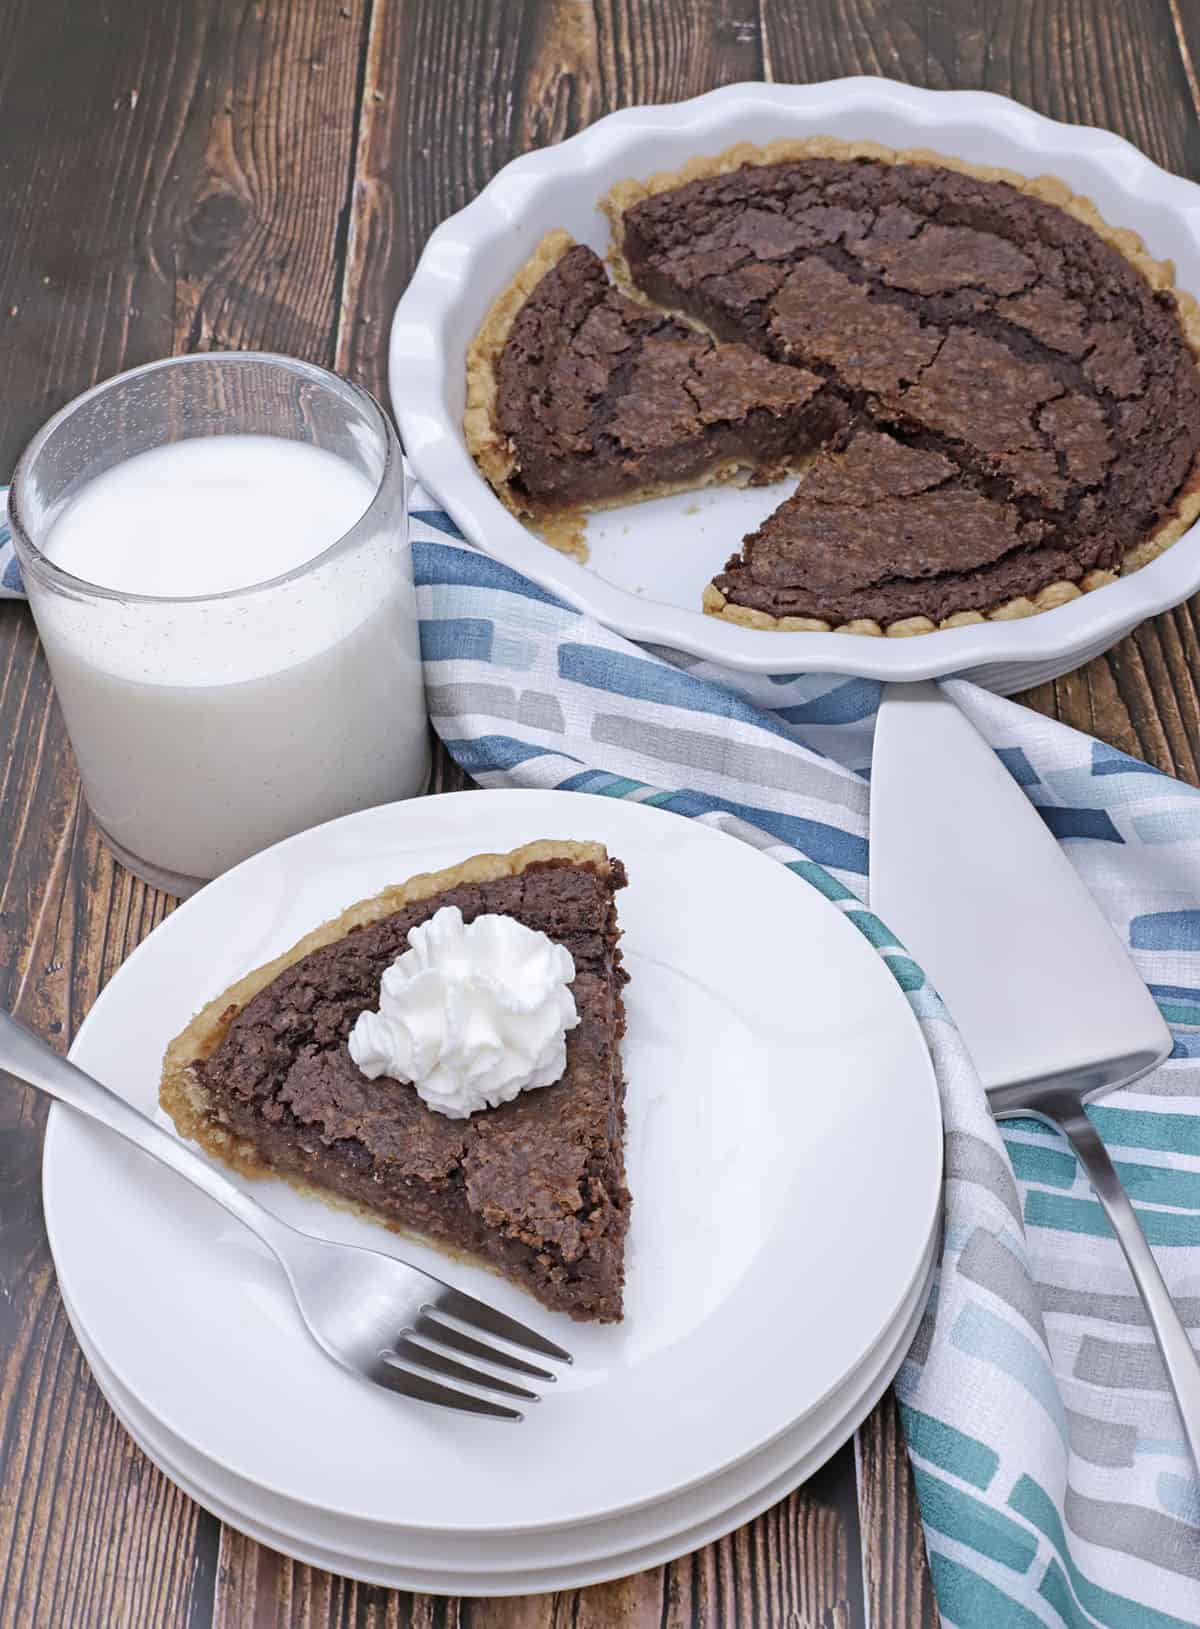
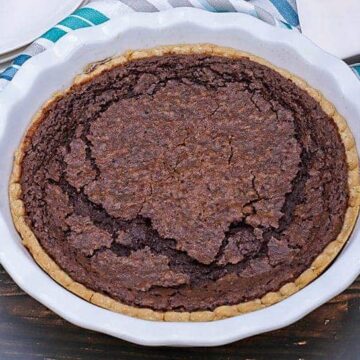
This southern chocolate chess pie is an authentic southern dessert. Its best known for its rich, indulgent, and fudgy texture. After it bakes, it's crowned with a crispy, crackly top. You will go back for seconds!
If you have never eaten a slice of chocolate chess pie, then making this recipe is a must! Its rich chocolate flavor is pure bliss! This recipe could not be any easier - just mix the ingredients with a whisk, pour into a store-bought crust, and bake it in your oven!
This recipe is an old family recipe that's been passed down several generations. It's an old fashioned, southern tradition that I start dreaming about months before the holidays 🙂
Why You'll Love This Pie
This is the best pie recipe with simple ingredients. One thing that makes this an easy dessert recipe is that you will use a pre-made pie crust. Hooray!
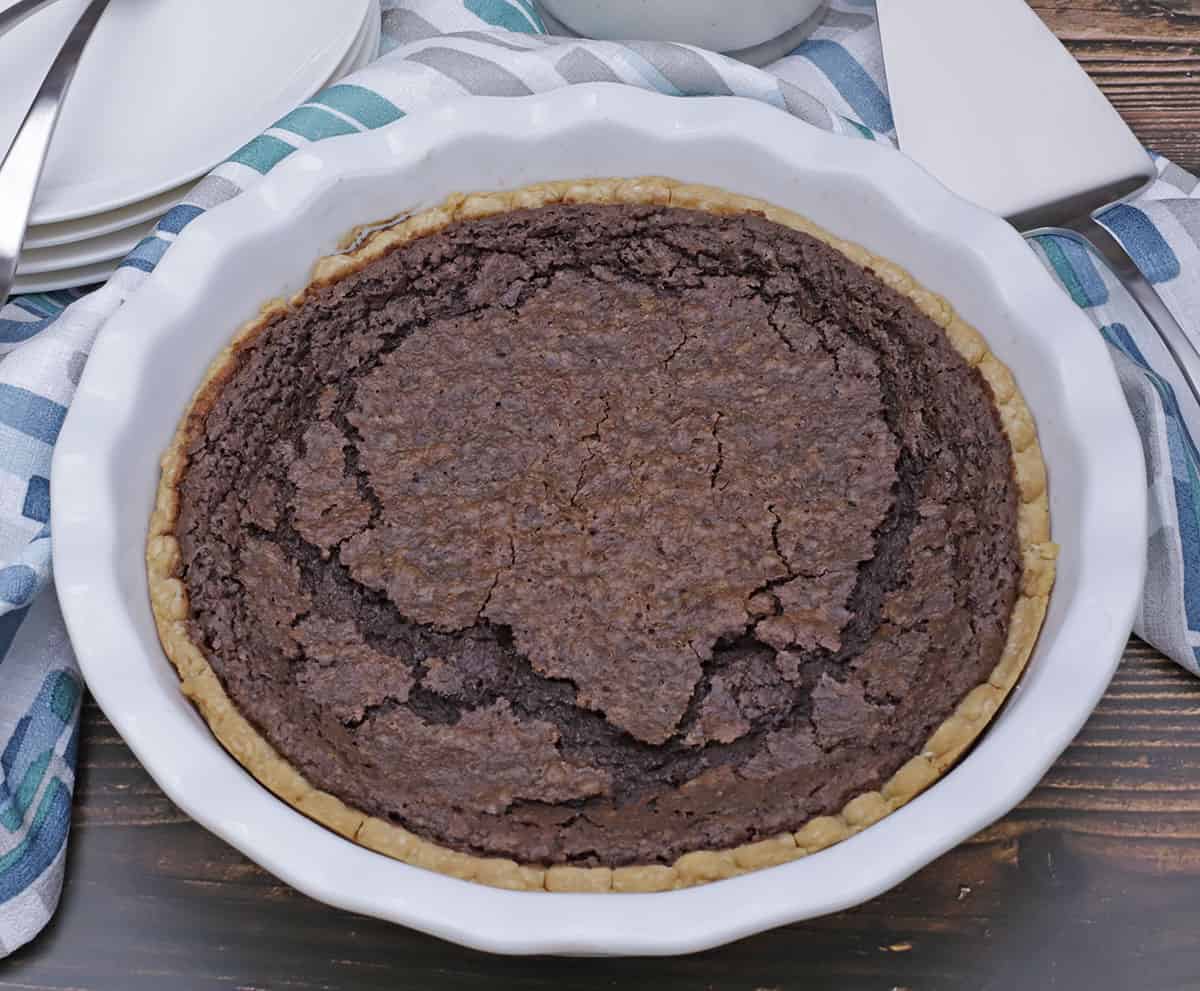
Words can not describe how delicious this chocolate pie is. After baking, the rich creamy chocolate pie filling has a slightly crisp top. Don't ask me how or why the top of this pie is crispy, thin and crunchy like candy, because I don't know why (maybe it's the butter and sugar combo). All I know is this pie turns out great and is always a huge hit.
There is no cornstarch or flour added to the pie filling. You may have seen other chess pie recipes that call for cornstarch or flour, but this recipe simply does not require either of them.
This recipe uses evaporated milk. I talked about how great this stuff is on a previous recipe post: Family Favorite Stuffed French Bread. It really does make a HUGE difference in the creaminess and richness of a recipe. If for some reason, you can't find evaporated milk, use whole milk instead.
Ingredients You'll Need
(be sure to scroll down to the printable recipe card for more detailed and helpful information)
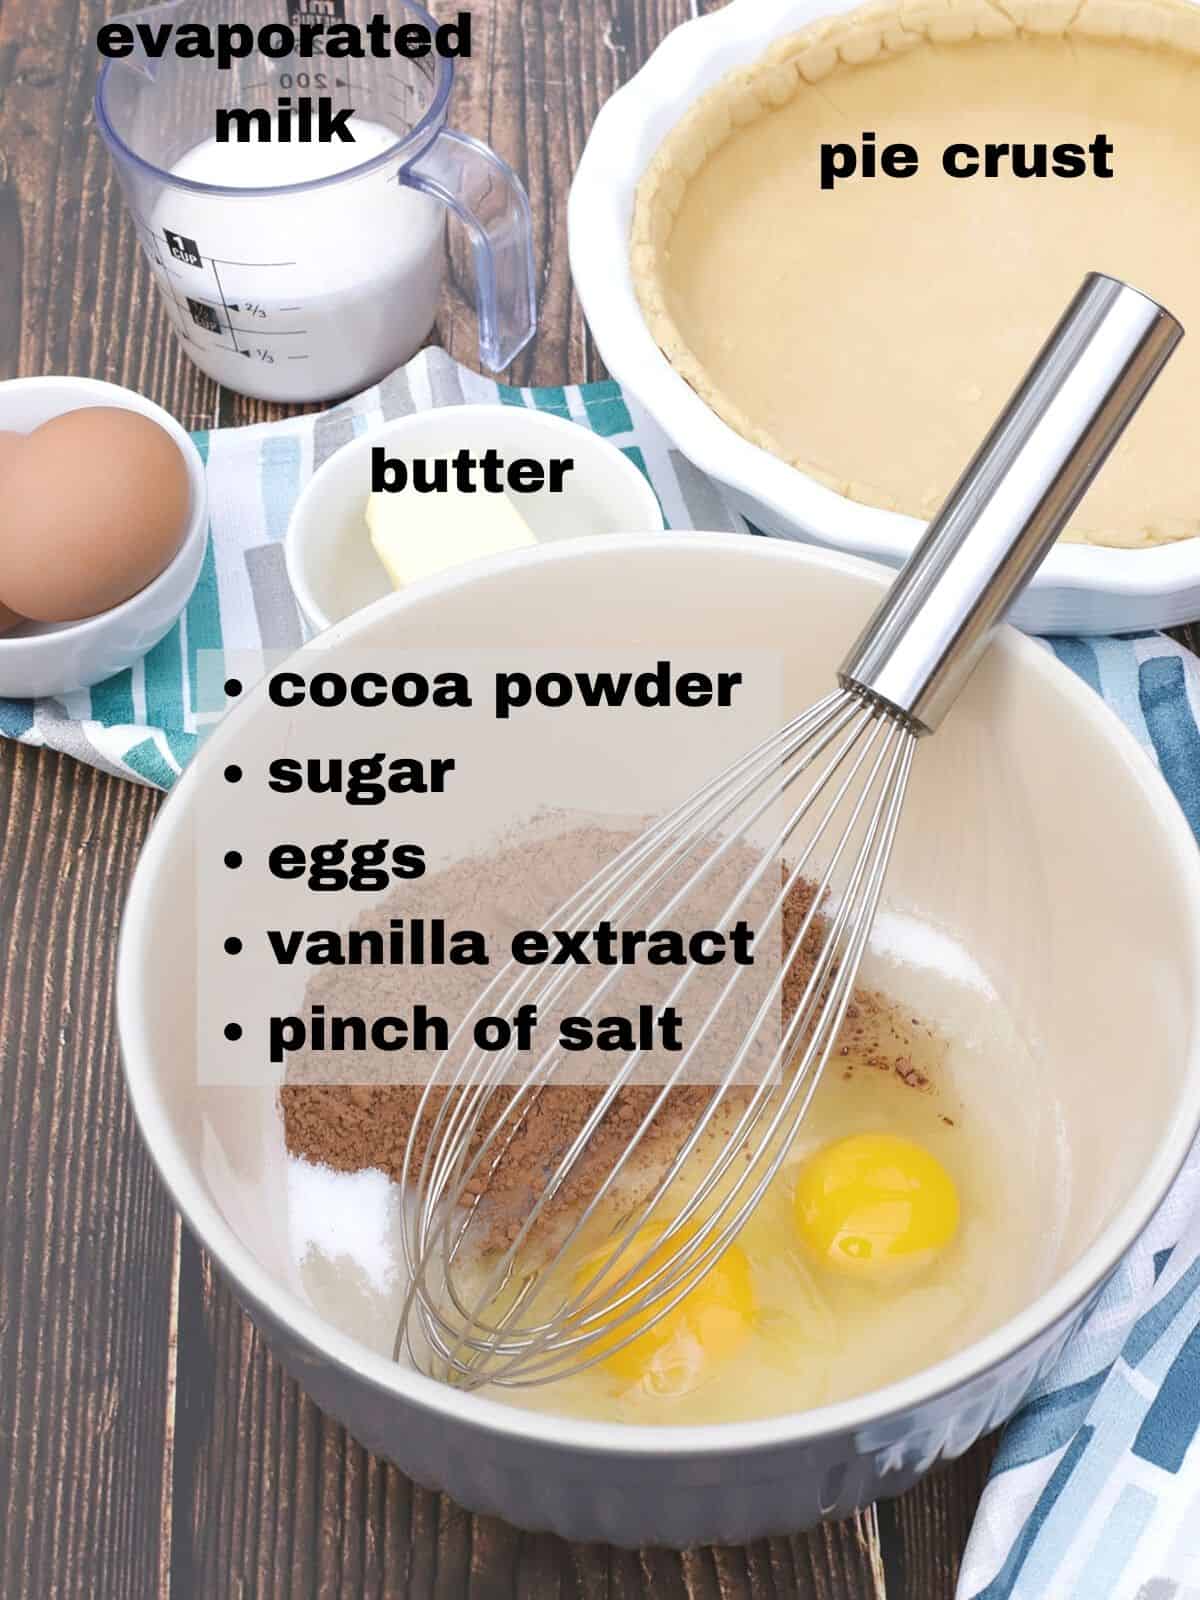
- Unbaked Pie Shell - deep dish crust is recommended to prevent spillage. You can use a deep-dish graham cracker crust instead; however, a regular pie crust is more traditional.
- Cocoa powder - use unsweetened cocoa powder
- Sugar - granulated white sugar
- Evaporated Milk - adds to the rich flavor and creamy texture
- Vanilla Extract - use pure vanilla extract for the best flavor
- Eggs - it's best to use room temperature eggs (let them set on the counter for about 30 minutes)
- Butter - use salted or unsalted
- Pinch of Salt
How to Blind Bake the Pie Crust
Before pouring all of the ingredients into the pie crust, I recommend "blind baking" the crust. This simply means to prick the raw crust a few times with a fork and pre-bake the pie crust for 5 minutes. I do this because the filling is very "liquidy" and pre-baking the crust seems to help the bottom of the crust stay firm and not get soggy.
Honestly, I've tried to make a homemade pie crust and it never turns out as good or as pretty as the pre-made so I'm sticking with what I know works best for me. If you have the talent to make your own pie crust, I envy you 🙂
How to Make This Pie
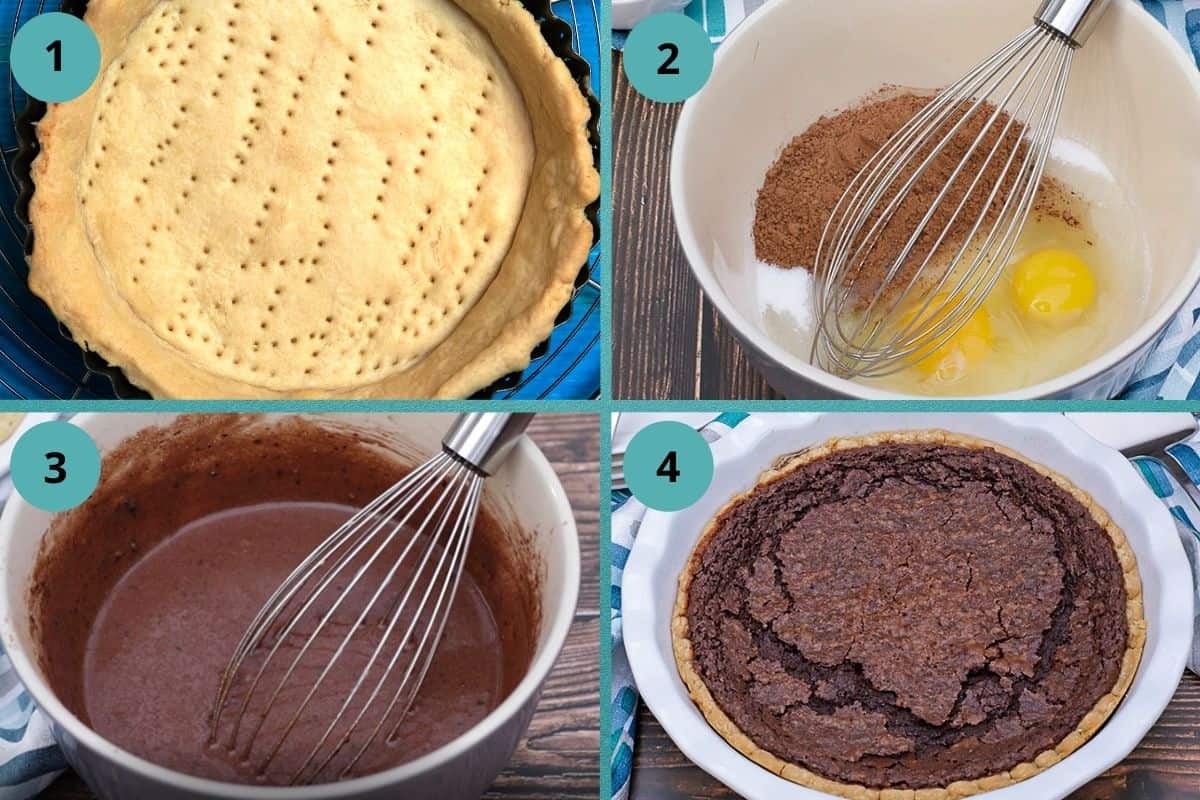
(1) Preheat oven to 350F. Prick the pie shell a few times with a fork and bake for 5 minutes. Remove from oven.
(2) Add the remaining ingredients into a mixing bowl.
(3) Using a wire whisk, mix the remaining ingredients in a bowl and pour the filling into pie shell.
(4) Bake for 35-40 minutes (I've had people tell me they've baked the pie for up to 50 minutes, so please check the pie often. If the crust starts to get too brown before the pie is done, you can remove the pie from the oven and cover the edges of the crust with foil; then return pie to oven to finish baking.
Alternatively, before you begin your baking project, you could purchase a pie crust protector shield like this one from Mrs. Anderson's Baking. Available now on Amazon.
How to Serve This Pie
- Trust me, this pie is spectacular all by itself. But if you prefer to "dress it up" I suggest topping it with powdered sugar, and you've got yourself a winning dessert each and every time. Note: wait for the pie to completely cool before adding powdered sugar because the powdered sugar will get gummy on top of a warm pie.
- Top with whipped cream or serve with a scoop of vanilla ice cream (or both like we do, lol).
- Try serving with some fresh strawberries or blueberries, as well. This pie is awesome when served with a glass of ice-cold milk!
- Serve with a dollop of peanut butter on top or on the side. This tip brought to you by my chocolate-peanut-butter-combination-loving husband!
- After the pie has cooled, sprinkle some sea salt on top for that sweet-salty combo.
Recipe Tips
- Before baking, place the unfilled pie crust on a cookie sheet. Then pour the ingredients into the pie. This makes it easier to get the pie in and out of the oven without spilling any of the filling.
- I've had people tell me they've baked the pie for up to 50 minutes, so please check the pie often. If the crust starts to get too brown before the pie is done, you can remove the pie from the oven and cover the edges of the crust with foil (or use a pie crust shield); then return pie to oven to finish baking.
- The pie filling won't be thick before baking; in fact, it will be quite liquidy. This is OK! After the pie bakes and cools, it will thicken nicely.
How to Transport a Pie
So now that you've made this delicious pie, what is the best way to transport it? I recently discovered a plastic carrier that's perfect for transporting pies, muffins, and cupcakes. It's the Southern Homewares 3-in-1 Plastic Holder Container. It offers easy-grip handles, a snap-tight lid, and it's made out of durable plastic. Available now on Amazon!
Questions You May Have
To keep your chess pie from separating, just make sure the butter is softened, not melted when you make the pie. You can soften the butter in the microwave but be careful not to get it so hot that it melts.
I would say yes because I think it tastes better cold and because of the dairy ingredients although it's cooked. Store covered in the refrigerator and enjoy for up to 2 days. When you plan to serve it, you can take it out of the refrigerator and place it on the counter to come to room temperature if you prefer.
You can definitely freeze this pie if you want to make it in advance. Bake it as directed and let it cool completely. Wrap in plastic wrap, then wrap in foil. The day before you plan to serve it, remove it from the freezer and place it in the refrigerator to thaw.
More Amazing Pie Recipes
Need more great recipe ideas? Follow me on Facebook, Pinterest, and Instagram to get more delicious recipe ideas in your feed.
If you tried this chess pie, please rate and review it below so I know how it turned out. If you’d like more recipe inspiration delivered straight to your inbox, you can sign up for my email newsletter below.
If you'd like more simple and easy recipe inspiration delivered straight to your inbox, sign up for my email newsletter. You'll receive a free 5-day meal plan just for subscribing!
Recipe
Easy Chocolate Chess Pie
Equipment
- deep dish pie plate
- large mixing bowl
- measuring cup(s)
- measuring spoons
- whisk
Ingredients
- 1 Unbaked pie shell (recommend deep dish)
- 2 eggs
- 3 tablespoons cocoa
- 1-⅓ cups sugar
- 5 ounces evaporated milk
- 1 teaspoon vanilla
- 4 tablespoons butter, softened (½ stick)
- pinch of salt
Instructions
- Preheat oven to 350. Prick the pie shell a few times with a fork and bake for 5 minutes. Remove from oven.1 Unbaked pie shell (recommend deep dish)
- Add remaining ingredients to a mixing bowl.2 eggs, 3 tablespoons cocoa, 1-⅓ cups sugar, 5 ounces evaporated milk, 1 teaspoon vanilla, 4 tablespoons butter, softened (½ stick), pinch of salt
- Use a wire whisk to mix ingredients. Whisk for about 2 minutes.
- Place the pie crust onto a cookie sheet (this helps to prevent spillage and also helps with handling a pie in and out of the oven). Pour filling into pie shell. Bake for 35-40 minutes or until set and not jiggly. SEE NOTES BELOW!!
Notes
Nutrition
This recipe was originally published in 2018 and was updated in 2023.
Nutritional information is provided as a courtesy to my readers. I'm not a nutritionist and I don't guarantee the accuracy of this data. The data may differ according to the brands I used versus the brands you use. To calculate the data yourself using your brands, try using an online nutrition calculator or app.




Raleigh
This is honestly my new go to dessert recipe. It is so easy and so delicious!
My family alright went through 2 of these pies, I’m making 2 more right now to bring to a Thanksgiving dinner tomorrow
Anne Clark
Hey Raleigh! Thank you SO much for letting me know. I loved reading it and I’m very happy you all liked the pie. Happy Thanksgiving!
Kath
Five stars for taste, but after baking for 48 minutes, the topping had a nice crust and seems to set nicely as it rested on the countertop for several hours. Unfortunately, it was like chocolate pudding in a pie crust. We spooned it out and enjoyed the taste but it was not sliceable.
Anne Clark
Hi Kath. Thanks for leaving your feedback; it's always appreciated! I've gone back and looked at the other comments from people who've made this pie and I see one who said they had to bake it 50 minutes so the pie would "set" (I chalk this up to the difference in ovens). There's another comment about the chocolate filling not setting because she melted the butter instead of using room temperature butter. However, from my experience, the pie seems to set fine at room temperature but more firmly when refrigerated. I will go ahead and make a suggestion in the recipe card to refrigerate the pie, in case someone else has a similar outcome to yours. I'm sorry it didn't set for you but thankful the taste was still OK. Happy New Year to you!