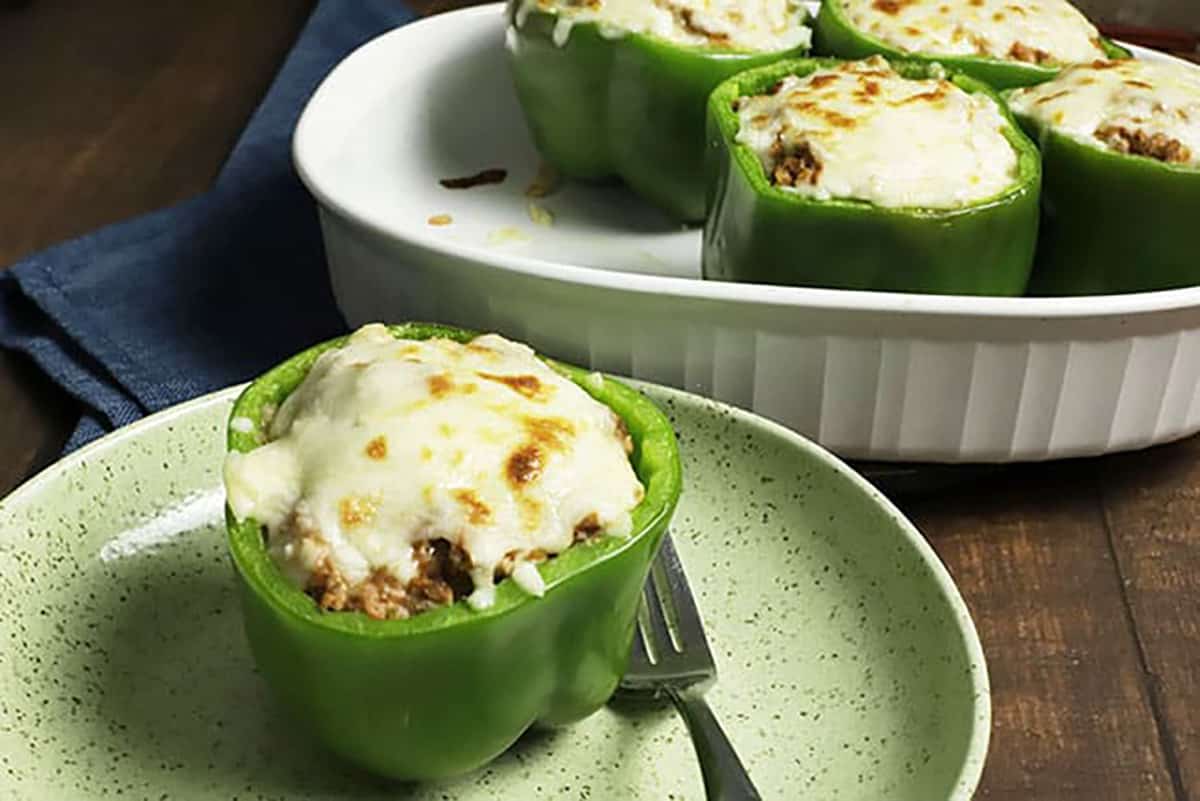
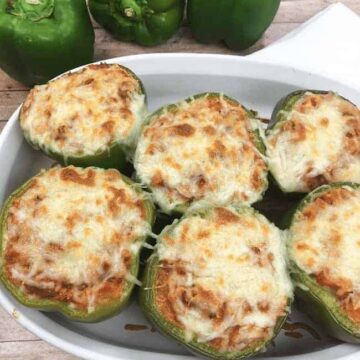
These keto stuffed bell peppers are filled with ground beef, creamy tomato sauce, and cauliflower rice. Topped with mozzarella cheese and baked to perfection! Ready to eat in under 1 hour!
Cauliflower. Who knew it would become the most versatile vegetable for the low carb and keto lifestyle. You can make just about anything with cauliflower from mashed cauliflower to pizza crusts!
Why You'll Love Them
Cauliflower rice is a healthy, excellent replacement for regular, starchy rice. Stuffed bell peppers have been popular for a long time. And now for low carb and keto eaters, they're a great healthy choice as cauliflower rice replaces traditional rice.
Easy protein substitution - you can swap out the hamburger meat and use ground turkey or even ground sausage.
This recipe also uses frozen cauliflower rice which is super convenient. I've recently discovered a muffin pan works well to hold the stuffed bell peppers upright. I personally like this jumbo muffin pan but a regular baking dish works well, too.
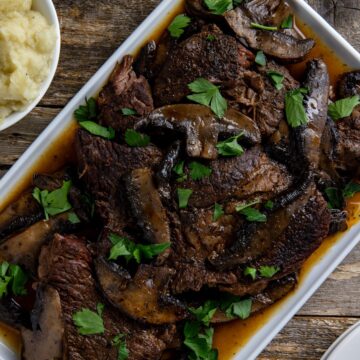
This is one of my favorite keto ground beef recipes. My other favorites are my Low Carb Lasagna Stuffed Portobello Mushroom recipe and my Stuffed Spaghetti Squash recipe. Both recipes have a meaty, hearty filling that's served inside a vegetable! Both are high protein low carb dinner recipes that you've got to try! For a change of pace, a cup of low carb soup fits the bill. Try my Instant Pot Creamy Asparagus Soup. All are gluten free.
Ingredients
(scroll down to the printable recipe card for complete details)
Ground Beef - 90/10 or 80/20
Cauliflower Rice - use frozen cauliflower rice
Bell Peppers - there are fewer carbs in green peppers than yellow and red
Tomato Sauce - no sugar added
Sour Cream - use the full fat sour cream
Shredded Mozzarella Cheese - or use a cheese blend such as Italian blend
Seasonings - parsley, garlic powder, salt, and pepper
How to Make Them
Here's a quick summary of the instructions. Please follow the recipe card when making these stuffed bell peppers!
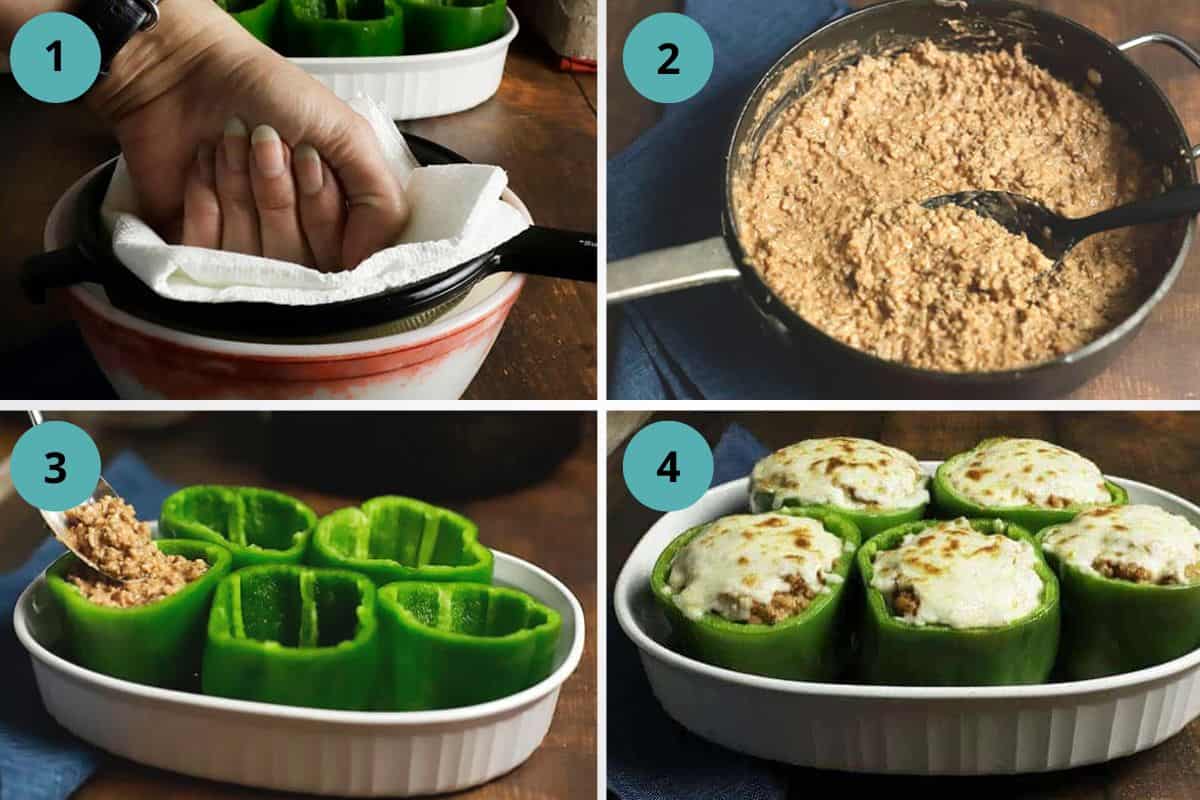
Step 1. Steam the cauliflower rice in the microwave. Press out all the liquid. Set aside. Cook the ground beef and drain the grease.
Step 2. Add the remaining ingredients (cauliflower rice, tomato sauce, sour cream, and seasonings) to the ground beef. At this point, check the flavor and add additional seasonings if desired.
Step 3. Cut the tops off of 5-7 large bell peppers, remove the seeds, and fill with the seasoned, creamy cauliflower rice and meat mixture (Blanch or boil the peppers before stuffing if you prefer tender peppers).
Step 4. Place the peppers on a baking dish or in a muffin pan. Bake for about 20-25 minutes. Then, top each bell pepper with mozzarella cheese, and bake for another 5-10 minutes or until cheese is slightly browned.
You could also use the broiler for a few minutes to get the cheese nicely browned.
Recipe Tips
- VERY IMPORTANT: After the cauliflower has cooked, you must press out as much liquid as possible. Place the cooked cauliflower rice in a mesh strainer, then place several paper towels on top of the cauliflower and use your fist to press very firmly on the cauliflower rice. Repeat this process, switching out the wet paper towels with dry paper towels until there is no more liquid draining/dripping out of the strainer.
- Green bell peppers are available year round at the grocery store but peak season runs from July through September.
- The sour cream makes the ground beef-cauliflower mixture so rich and creamy!
- These hearty, low carb stuffed bell peppers are excellent comfort food and make great leftovers!
- Do you have a garden full of bell pepper? Check out this article from My Frugal Home, here's the link How To Freeze Peppers.
Frequently Asked Questions
Store cooked stuffed bell peppers in an airtight container in the refrigerator for up to 3 days. I prefer to use BPA-free glass containers with locking lids. Check out this 18 piece set of glass food storage containers with snap locking lids.
You can freeze leftover stuffed bell peppers for up to 3 months. Make sure they are stored in an airtight container like a freezer bag and be sure to write the date on the bag for an easy reminder when they went into the freezer. When you're ready to eat them, let them thaw in the refrigerator then heat them in a preheated 350 oven for about 10-15 minutes or until thoroughly heated. Note: Frozen bell peppers tend to get soft when they thaw. Please note they won't be firm or crunchy.
Yes, but do not blanch or boil the peppers. Frozen bell peppers tend to get soft after they thaw. After making the filling, let the filling completely cool. Then you can stuff the peppers (don't bake them) and freeze them. Store them in a ziplock bag or some other kind of airtight container. Then, when you're ready to eat them, thaw the peppers in the refrigerator. They may take up to 24 hours to thaw in the refrigerator. Once thawed, bake as directed. Again, frozen bell peppers tend to get soft when they thaw. Please note they won't be firm or crunchy.
Yes! Follow Steps 1-3 of the recipe card. Add ½ teaspoon olive oil to the bottom of the slow cooker. Place stuffed peppers in the slow cooker. Cover and cook 4 hours on low (5 hours for a much softer pepper). Add the cheese, cover, and cook for another 15 minutes or until cheese is melted.
Meat Substitutions
As stated in the recipe card, you can use ground sausage instead of ground beef. You can also use ground pork or ground chicken. Low carb stuffed peppers with ground turkey is another outstanding option!
Tomato Sauce Substitution
If you don't like tomato sauce, you can substitute 8 ounces of cream cheese. Eight ounces of cream cheese has 1 net carb per serving, according to the brand you use.
More Keto Recipes


If you'd like more easy recipes sent straight to your email, subscribe and get a free 5-day meal plan! How easy is that!
If you tried this recipe, please let me know by leaving a comment! I'd love to hear from you.
Recipe
Keto Stuffed Bell Peppers
Equipment
- Large Saute Pan
- Large knife
- Cutting board
- large bowl
- Mesh strainer
- Baking pan or muffin pan
Ingredients
- 1 pound Ground beef, cooked and drained
- 12 ounces Cauliflower rice, steamed and drained
- 2 8-oz cans Tomato Sauce
- ½ cup Sour cream
- 1 tablespoon Parsley
- ½ teaspoon Garlic powder
- Salt and pepper to taste
- 5-7 Large green bell peppers
- ½ cup Shredded cheese, mozzarella or Italian blend
Instructions
- Cook the ground beef until done and drain the grease. While the ground beef is cooking, steam the cauliflower rice in the microwave. VERY IMPORTANT: After the cauliflower has cooked, you must press out as much liquid as possible. Place the cooked cauliflower rice in a mesh strainer, then place several paper towels on top of the cauliflower and use your fist to press very firmly on the cauliflower rice. Repeat this process, switching out the wet paper towels with dry paper towels until there is no more liquid draining/dripping out of the strainer.
- Combine the ground beef and cauliflower rice. Add the tomato sauce (use the tomato sauce with basil, garlic, and oregano for added flavor but check carb content), sour cream, and seasonings. Mix well. Check the flavor and add additional seasonings if desired.
- Wash and dry bell peppers. Cut the tops off the bell peppers and remove the seeds and white membrane.
- Fill the peppers with the ground beef mixture and place in a baking dish or muffin pan. SEE RECIPE NOTES BELOW FOR SOFTER BELL PEPPERS.
- Bake, uncovered, at 350 for 20-25 minutes. For softer bell peppers, cover with foil before baking (see note below). Remove from oven, and top with cheese. Return to the oven for another 5-10 minutes to melt the cheese. Use the broiler to brown the cheese to your liking.
Notes
Nutrition
This recipe was originally published in 2018 and was updated in 2023.
Nutritional information is provided as a courtesy to my readers. I'm not a nutritionist and I don't guarantee the accuracy of this data. The data may differ according to the brands I used versus the brands you use. To calculate the data yourself using your brands, try using an online nutrition calculator or app.


MerriDee says
Loved the Keto version of this recipe. Made this for dinner and it came out so amazing. I think I love it better with cauliflower rice. Didn’t feel over full when. done with meal.
MyKitchenSerenity says
Thank you for your rating and comment, MerriDee! I'm so happy you liked the stuffed peppers!!
Susan Crayton says
I must be missing it what temperature do I set the oven at?
MyKitchenSerenity says
Hi Susan. It's 350F (step 4 in the recipe card). Thanks! I hope you enjoy the peppers 🙂
Rebeca Olivas says
Very delicious and fast!
Zandy Long says
Awesome! Husband says it's a keeper!
MyKitchenSerenity says
Thanks for your comment, Zandy! I’m so glad you and husband liked the peppers!
Rita Mitchell says
This was easy and absolutely delish! I did a half and half ground pork and beef. Husband would not even try cauliflower rice until he ate this without knowing! Definitely a repeat recipe. Thank you!
MyKitchenSerenity says
Rita, I'm so glad to know you and your husband enjoyed this recipe! Thank you for taking the time to comment. The next time I make this recipe, I'll try half pork and half beef like you mentioned. 🙂
Heather says
I am going to try this tonight, and I am new to the low carb/keto lifestyle and am tracking macros. Can you please tell me what the nutrition facts are for this please! I'd really be so grateful!
MyKitchenSerenity says
Hi Heather. I've added the nutritional information to the recipe card. Thanks for your comment and let me know if you have any questions. I hope you enjoy the recipe!
Page Barker says
I want to try these & my neighbor just gave me 2 bags of peppers, so I plan to freeze them. My question is, do I freeze them before baking, or after. It implies after, since the cooking time is less, but wanted to clarify. Thanks!
MyKitchenSerenity says
Hi Page! First, I would not blanch or boil the peppers (not sure if you were planning on doing that or not). Frozen bell peppers tend to get soft after they thaw. After making the filling, let the filling completely cool. Then you can stuff the peppers (don't bake them) and freeze them. Store them in a ziplock bag or some other kind of airtight container. Then, when you're ready to eat them, thaw the peppers in the refrigerator. They may take up to 24 hours to thaw in the refrigerator. Once thawed, bake as directed. Like I said, bell peppers tend to get soft then they thaw so be aware that they will be soft and not crunchy. I'll make a note of this in the post. Thanks!! Let me know how you like them!
Adrienne Wilczewski says
I must state I didn't soften or blanch peppers, nor squeeze out much liquid from cauli rice. These were phenomenal even with the crunch of peppers! My young adult daughter prefers raw veggies over cooked, plus she’s a slightly picky eater. I begged her to try just one, you’ll like it, trust me. Her exact words, “you’re right these are awesome”! Not too often kids tell parents when they are right lol. TY so much for sharing.
MyKitchenSerenity says
Thanks for the amazing comment, Adrienne! I’m so glad you and your daughter liked the peppers. Tell her I said hello and thanks. I agree...we don’t often have a kid agree with us lol. Cherish the moment!
Danielle says
These are very delicious! My only complaint is that I just could not get the bell pepper to cook down any. It was very crunchy, but the inside was as absolutely divine !
MyKitchenSerenity says
Thanks for your comment, Danielle. I'm glad you liked the stuffed bell peppers (the filling is my favorite part, too). I'm not sure why the bell peppers would not get soft; did you cover them with foil while baking as the recipe suggested? However, if you like your bell peppers super soft, I would recommend placing them in a pot of boiling water for a few minutes before filling them with the ground beef mixture. Because of your helpful comment, I will add a note to the recipe card for much softer bell peppers. Hope you try the recipe again and have better luck!
Jennifer says
Loved this recipe! I changed it up a little bit by adding sautéed onions, fresh garlic, and Italian seasonings. It was a huge success & my whole family Loved it!!
MyKitchenSerenity says
Thank you so much, Jennifer! Love your suggestion; sounds delicious with the wonderful flavors and seasonings you added!
Christine says
I am not sure what I did wrong but the inside of my peppers are still soggy. I cooked and drained meat, drained the cauliflower and dried my peppers.
MyKitchenSerenity says
Hi Christine. I'm sorry the recipe didn't turn out quite right for you. I've given this much thought and I keep coming back to the cauliflower and how important it is to press out every single drop of liquid. Like I mentioned in my post, I use paper towels to help me press out the liquid. I place the cooked cauliflower rice in a mesh strainer, then I place several paper towels on top of the cauliflower, and use my fist to press very firmly on the cauliflower rice. I repeat this process, switching out the wet paper towels with new paper towels until there is no more liquid draining/dripping out of the strainer. I will edit my post to reflect in more detail how I press out all the liquid. Thank you for commenting and I hope one day you'll give this recipe another try!
Ashley Adams says
This recipe is great I love it! Next time I think I will boil the peppers first for a few minutes to make sure they soften up 🙂
MyKitchenSerenity says
Thanks for the comment, Ashley! I'm glad you love this recipe as much as we do. Yes, boiling the peppers for a few minutes will definitely soften them up.
Cindy says
I made this recipe and it is sooo delicious! My husband actually went back for seconds 🙂
MyKitchenSerenity says
Hi Cindy! I'm so glad you and your husband liked these stuffed peppers! My hubby likes them too 🙂
Sheryl says
This is the best recipe for stuffed bell peppers. Delicious
MyKitchenSerenity says
Thank you so much for the nice comment, Sheryl! I'm glad you liked them!
Paula says
Very good
MyKitchenSerenity says
Paula, so glad you liked the recipe! Thanks for letting me know. Anne