
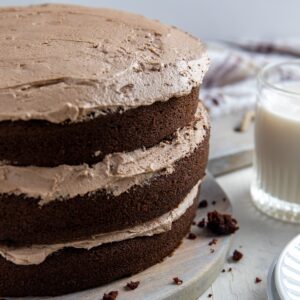
The best chocolate cake is made from scratch with easy homemade chocolate frosting. Rich and decadent with 3 layers of chocolatey goodness!
You're going to love this triple layer chocolate cake with chocolate buttercream frosting! It's the perfect cake for special occasions like birthdays, holidays, family get-togethers, or office parties.
⭐⭐⭐⭐⭐"Verdict: Delicious cake!!! New favorite! Absolutely wonderful, Great texture." - Brenda
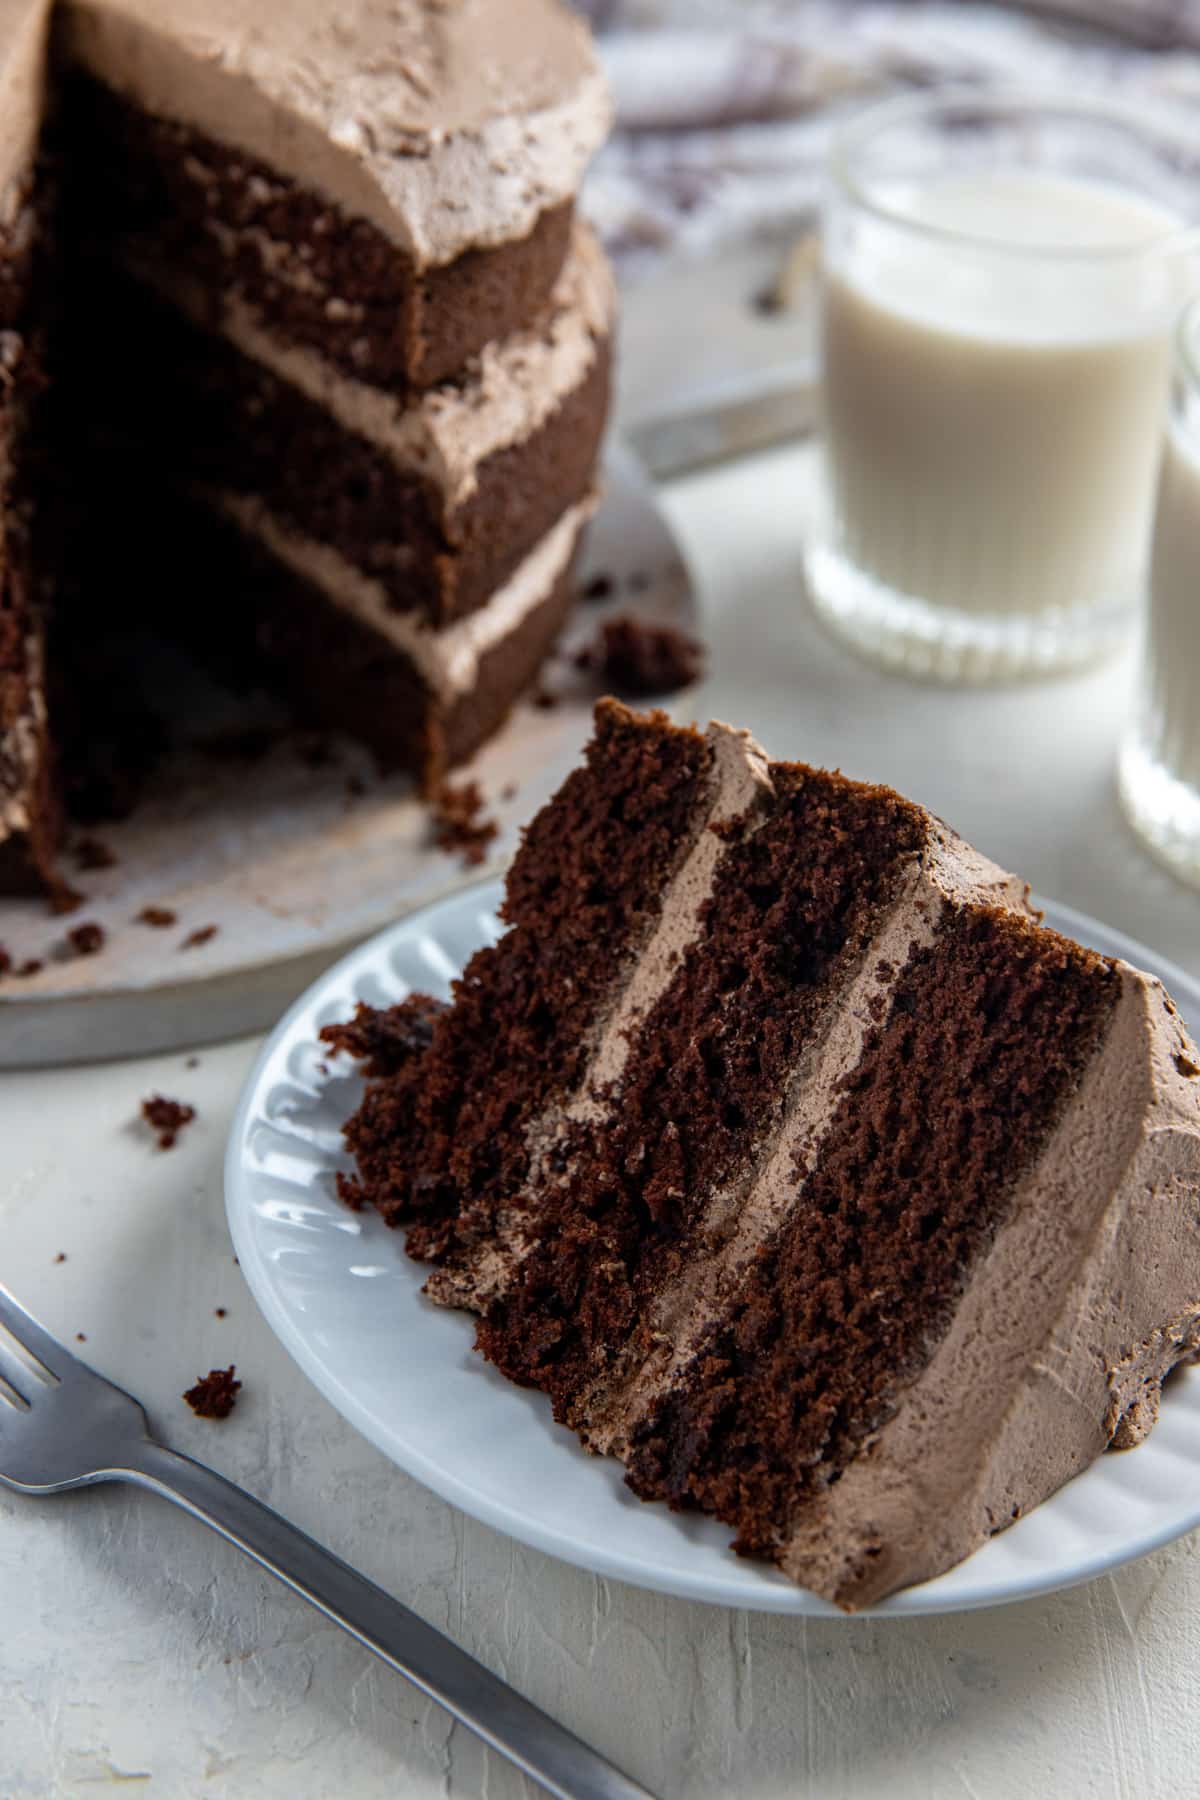
Quick Look: 3-Layer Chocolate Cake with Buttercream Frosting
- ⏲️Ready in: ~53 minutes
- 👪Serves: 12
- 🥘Key Ingredients: Flour, sugar, cocoa powder, butter, eggs, powdered sugar
- 🍳Method: Oven
- ⭐Difficulty: Easy
- 👩🍳Texture/Flavor: Rich, moist chocolate cake layered with creamy chocolate buttercream frosting
- ☀️Best For: Birthdays, Thanksgiving, Christmas, and other special occasions
- ✅Why You'll Love It: Made completely from scratch, but easy recipe. Three layers make it look extra impressive!
Summarize & Save this content on:
If you love impressive layer cakes, try my Carrot Cake with Cream Cheese Frosting. It's another beautiful dessert that's special enough for your Thanksgiving or Christmas table.
Jump to:
- Quick Look: 3-Layer Chocolate Cake with Buttercream Frosting
- Why You'll Love This Cake
- Readers' Tips
- Key ingredients
- Substitutions and Additions
- How to Accurately Measure Dry Ingredients
- How to Make a 3-Layer Chocolate Cake
- How to Make Even Layers
- Make Ahead Tips
- Baking Tips for Success
- Recipe FAQs
- More Cake Recipes
- Recipe
- Comments
Why You'll Love This Cake
This easy homemade chocolate cake is moist and delicious. Rich chocolate layers are frosted with decadent chocolate buttercream frosting.
Imagine sinking your fork into a slice of moist, velvety chocolate cake that practically melts in your mouth. That's what awaits you with this triple layer chocolate cake. Each layer is rich and chocolately with just the right amount of sweetness.
Whether you're a chocoholic or just someone who appreciates a good dessert, this cake will have you coming back for seconds. If you love chocolate desserts, try my Chocolate Chess Pie, Dark Chocolate Brownies, and Easy Chocolate Muffins!
Readers' Tips
- Lydia wrote, "I made this cake for my dad's birthday. It is soo good! We put nutter butters on it and everyone wants a piece. I tried putting a picture, but it turns out I'm not good at Pinterest yet. Anyway, thanks for sharing the recipe! 🙂 "
- Melissa added, "Great recipe!!! I added instant coffee to the boiling water before pouring it into the cocoa. And I used a dark Dutch pressed cocoa. I have been trying chocolate cupcake recipes and my hubby said this is definitely the best by far! I made it into cupcakes instead of a cake. It made 44! I didn't use the frosting recipe. I used a vanilla buttercream!"
Want something a litter simpler? Try my Vanilla Cake with Chocolate Frosting - it's an easy sheet cake that never disappoints.
Key ingredients
Let's take a quick look at the ingredients for this cake. Each ingredient in this recipe serves a specific purpose in creating the perfect texture, flavor, and structure for your triple layer chocolate cake. All ingredients should be room temperature for the best results.
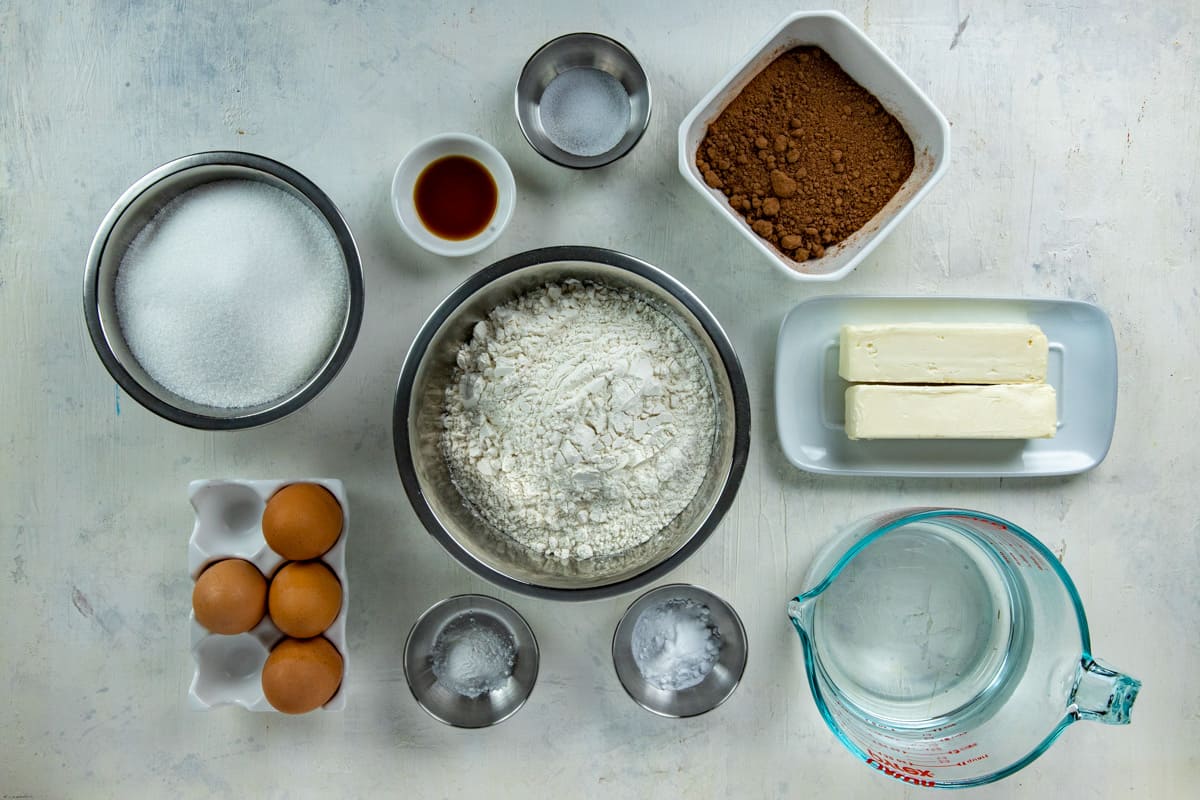
All-purpose flour - flour is the main ingredient. It provides the essential structure and texture, ensuring that the cake holds its shape while remaining tender and moist. The type of flour used can significantly impact the final result - so don't get tempted to use self-rising flour.
Unsweetened cocoa powder - another key ingredient is the cocoa powder! It's what gives this cake its rich chocolate flavor. We use the unsweetened version because we are adding just the right amount of sugar to the cake batter.
Unsalted butter - butter adds richess, flavor, tenderness, and moisture to the cake. Stick with unsalted butter because we will add just the right amount of salt needed.
Granulated sugar - basically, sugar provides sweetness and makes the cake enjoyable and satisfying to eat! But you already knew that, right 🙂
Large eggs - eggs provide moisture for the cake, and they also act as binders, holding the ingredients together and preventing them from separating during mixing and baking. Neat!
Pure vanilla extract - largely a flavor enhancer, vanilla extract is a small yet key ingredient for this cake.
Baking soda and baking powder - These two work together to help the cake rises while baking. It's what makes it light and fluffy!
Powdered sugar - this is for the chocolate buttercream frosting -- truly, the icing on the cake! 🙂 Also known as confectioners' sugar or icing sugar, it gives the frosting its decadent sweetness. We'll add a little milk for the perfect consistency for spreading it on the cake.
If you need an easy holiday snack to go with your desserts, try my White Chocolate Chex Mix - it's perfect for gifting and party trays.
Substitutions and Additions
For a deeper chocolate flavor, try using dark cocoa powder. For an extra touch of decadence, add chocolate chips or chopped nuts to the batter.
Reader Tip: Melissa adds instant coffee to the boiling water before mixing it with the cocoa powder. She says it gives the cake an even richer chocolate flavor.
How to Accurately Measure Dry Ingredients
Have you ever heard someone say, "I never measure ingredients, I just eyeball it." That's fine and dandy, but when it comes to baking, precision is important. Using the proper measuring technique can make or break the outcome!
So, here's how to properly measure those dry ingredients so you get the best results!
- For ingredients such as flour, cocoa powder, and powdered sugar, spoon the ingredient into the measuring cup, pile it slightly above the rim, then level it off with the back of a knife. For baking soda and baking powder, fill the measuring spoon and level off the top.
- Here's a great YouTube tutorial on How to Measure Dry Ingredients.
How to Make a 3-Layer Chocolate Cake
For the absolute best results, please follow the actual recipe card!
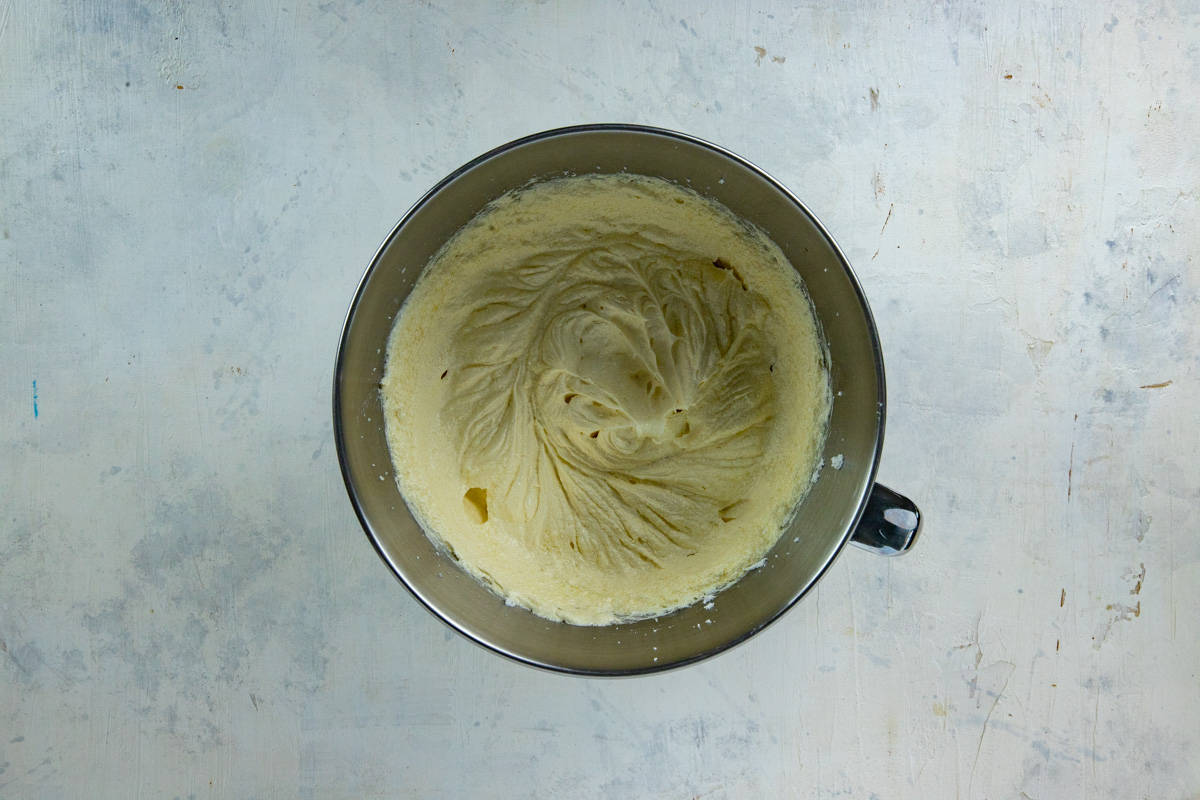
Step 1. In a large mixing bowl, blend the butter and sugar until creamy (6-7 minutes). Blend in the eggs and vanilla extract until well combined.
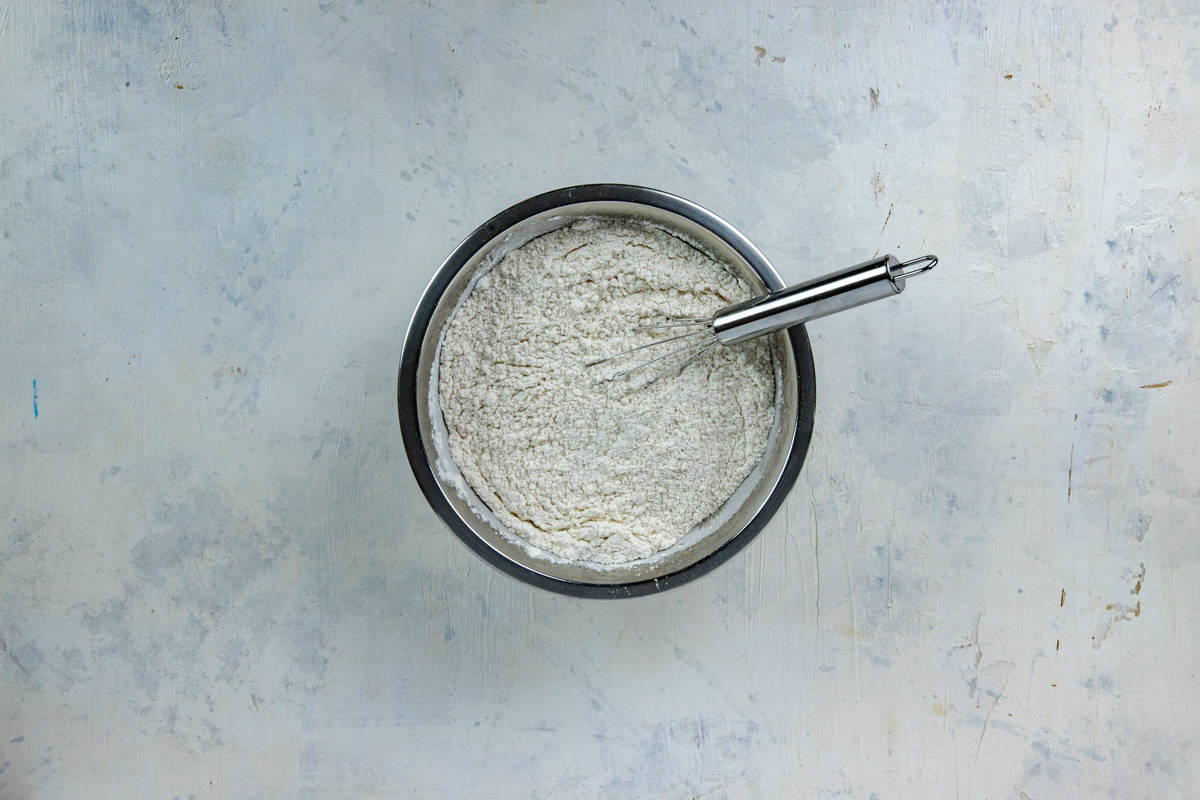
Step 2. In another large mixing bowl, whisk together the flour, baking soda, baking powder, and salt.
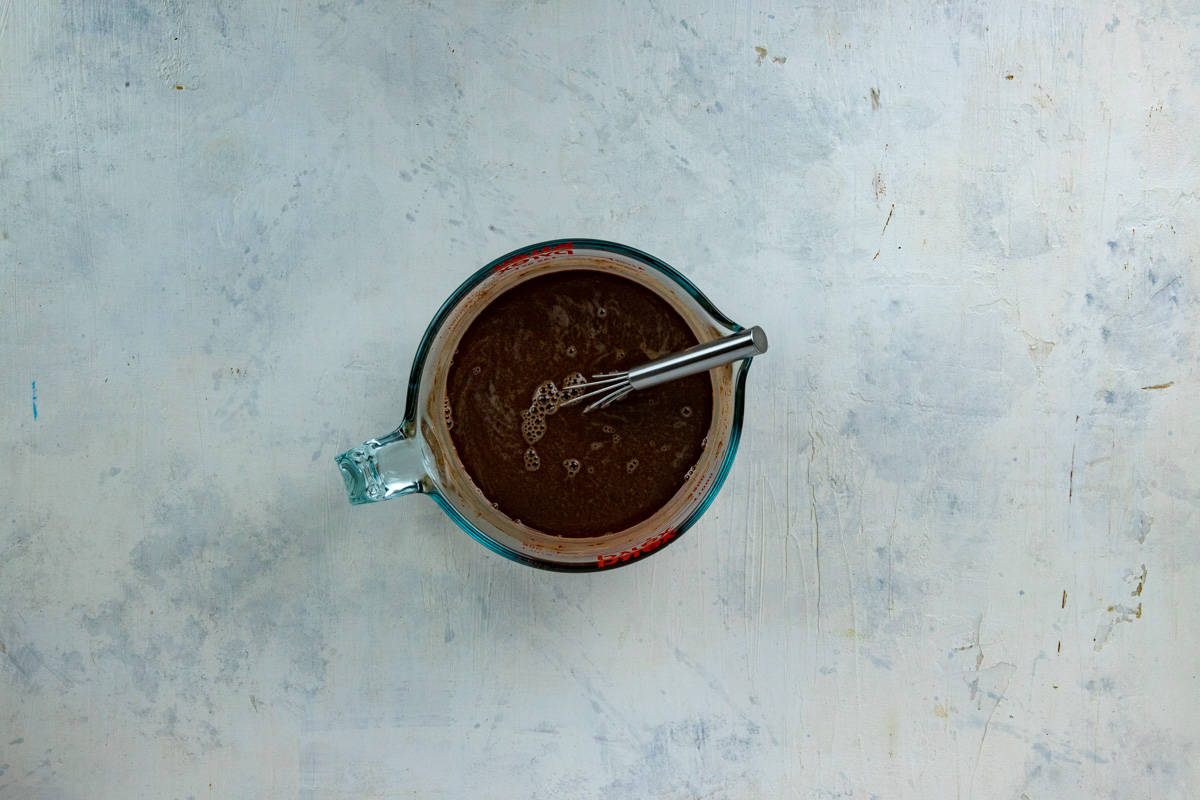
Step 3. In a medium bowl, whisk the unsweetened cocoa powder and boiling water until no lumps remain.
Why use boiling water? The hot water blooms the cocoa powder, helping bring out a deeper, richer chocolate flavor. It also helps the cocoa dissolve smoothly into the batter.
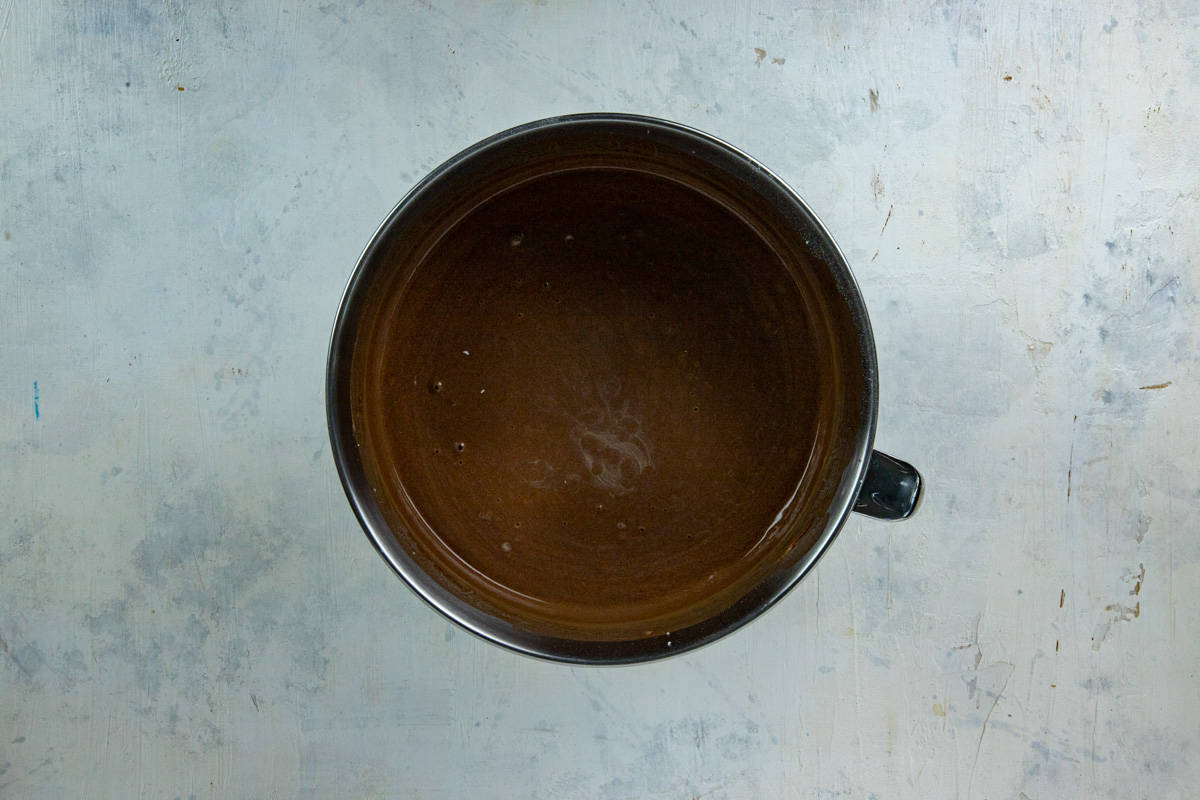
Step 4. Gradually incorporate the dry ingredients and chocolate mixture into the bowl containing the butter and sugar, alternating between the two.
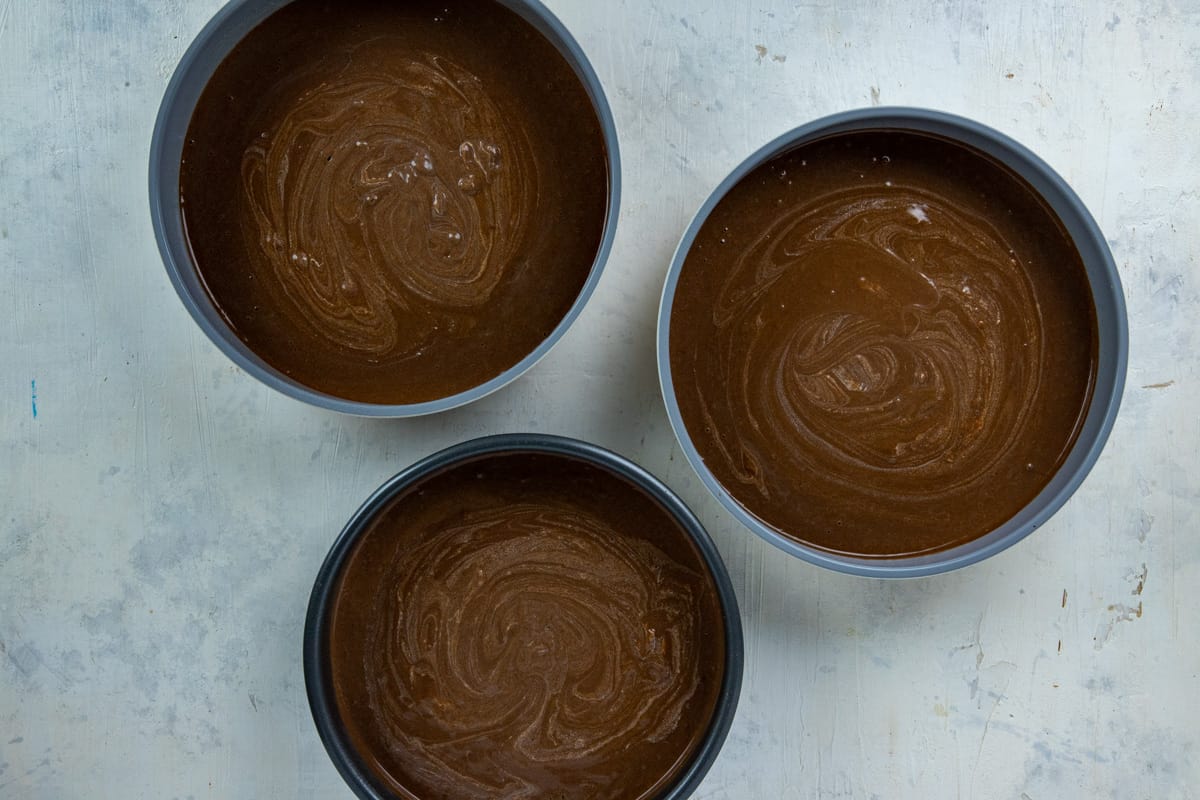
Step 5. Evenly spread the cake batter into the three 8-inch round cake pans and place them into the oven. Bake 22-28 minutes, or until a toothpick inserted in the center of the cake comes out clean (not ooey gooey with cake batter).
Step 6. Remove the cake pans from the oven and let them cool on a wire rack for 10 minutes. Then one at a time, turn the cake pans over to release the cakes onto a wire rack to cool completely (20-30 minutes). Cakes should be completely cool before frosting them.
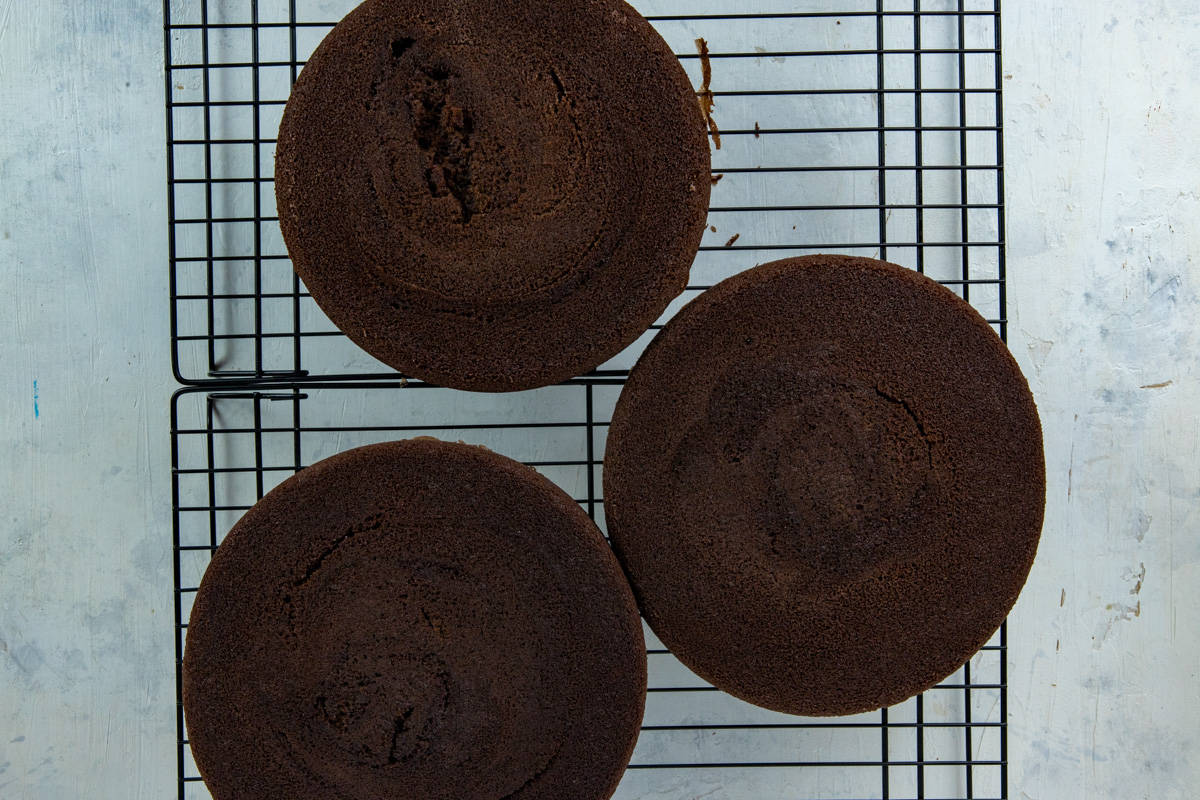
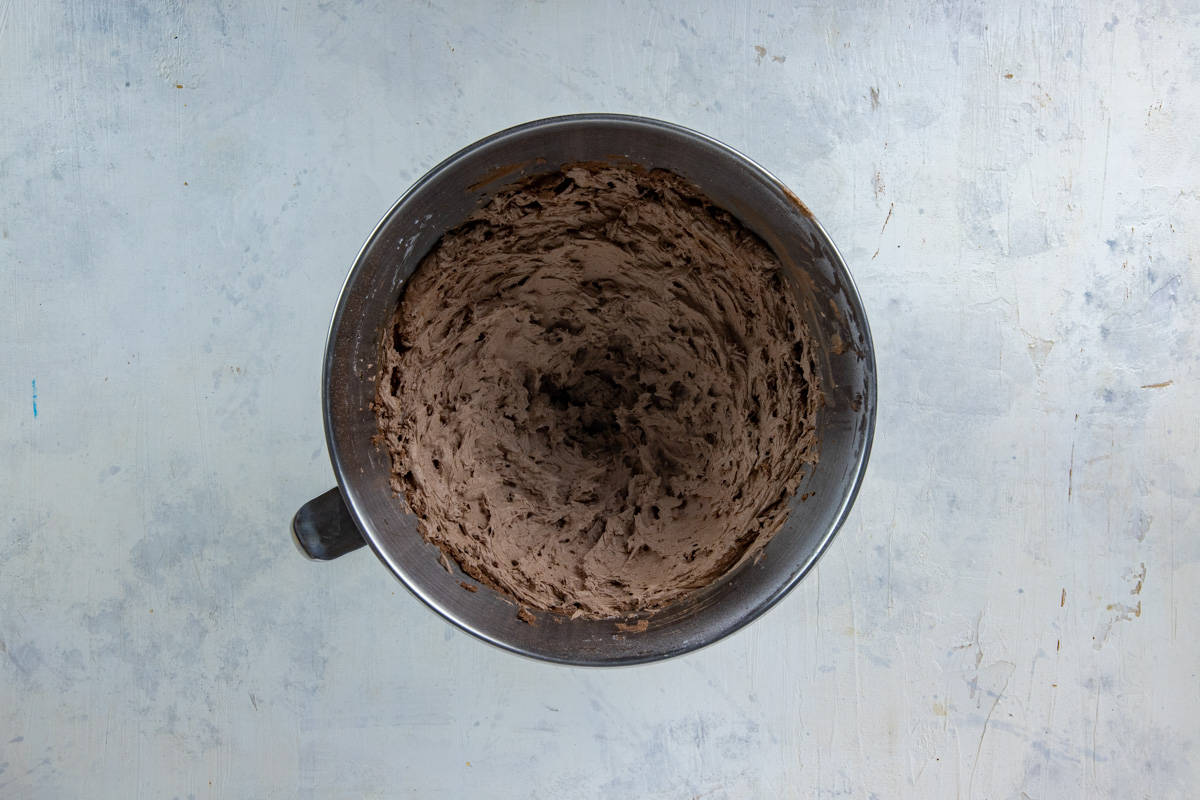
Step 7. After the cake layers have completely cooled, make the chocolate buttercream frosting.
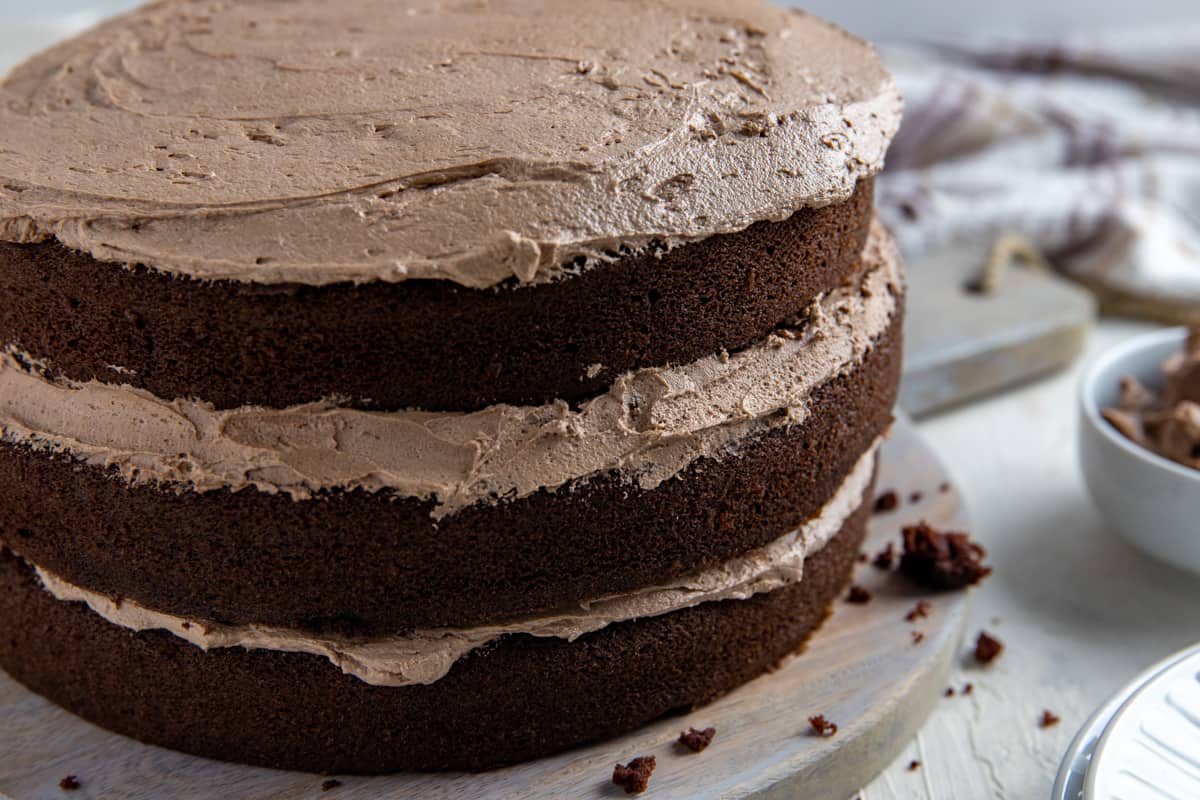
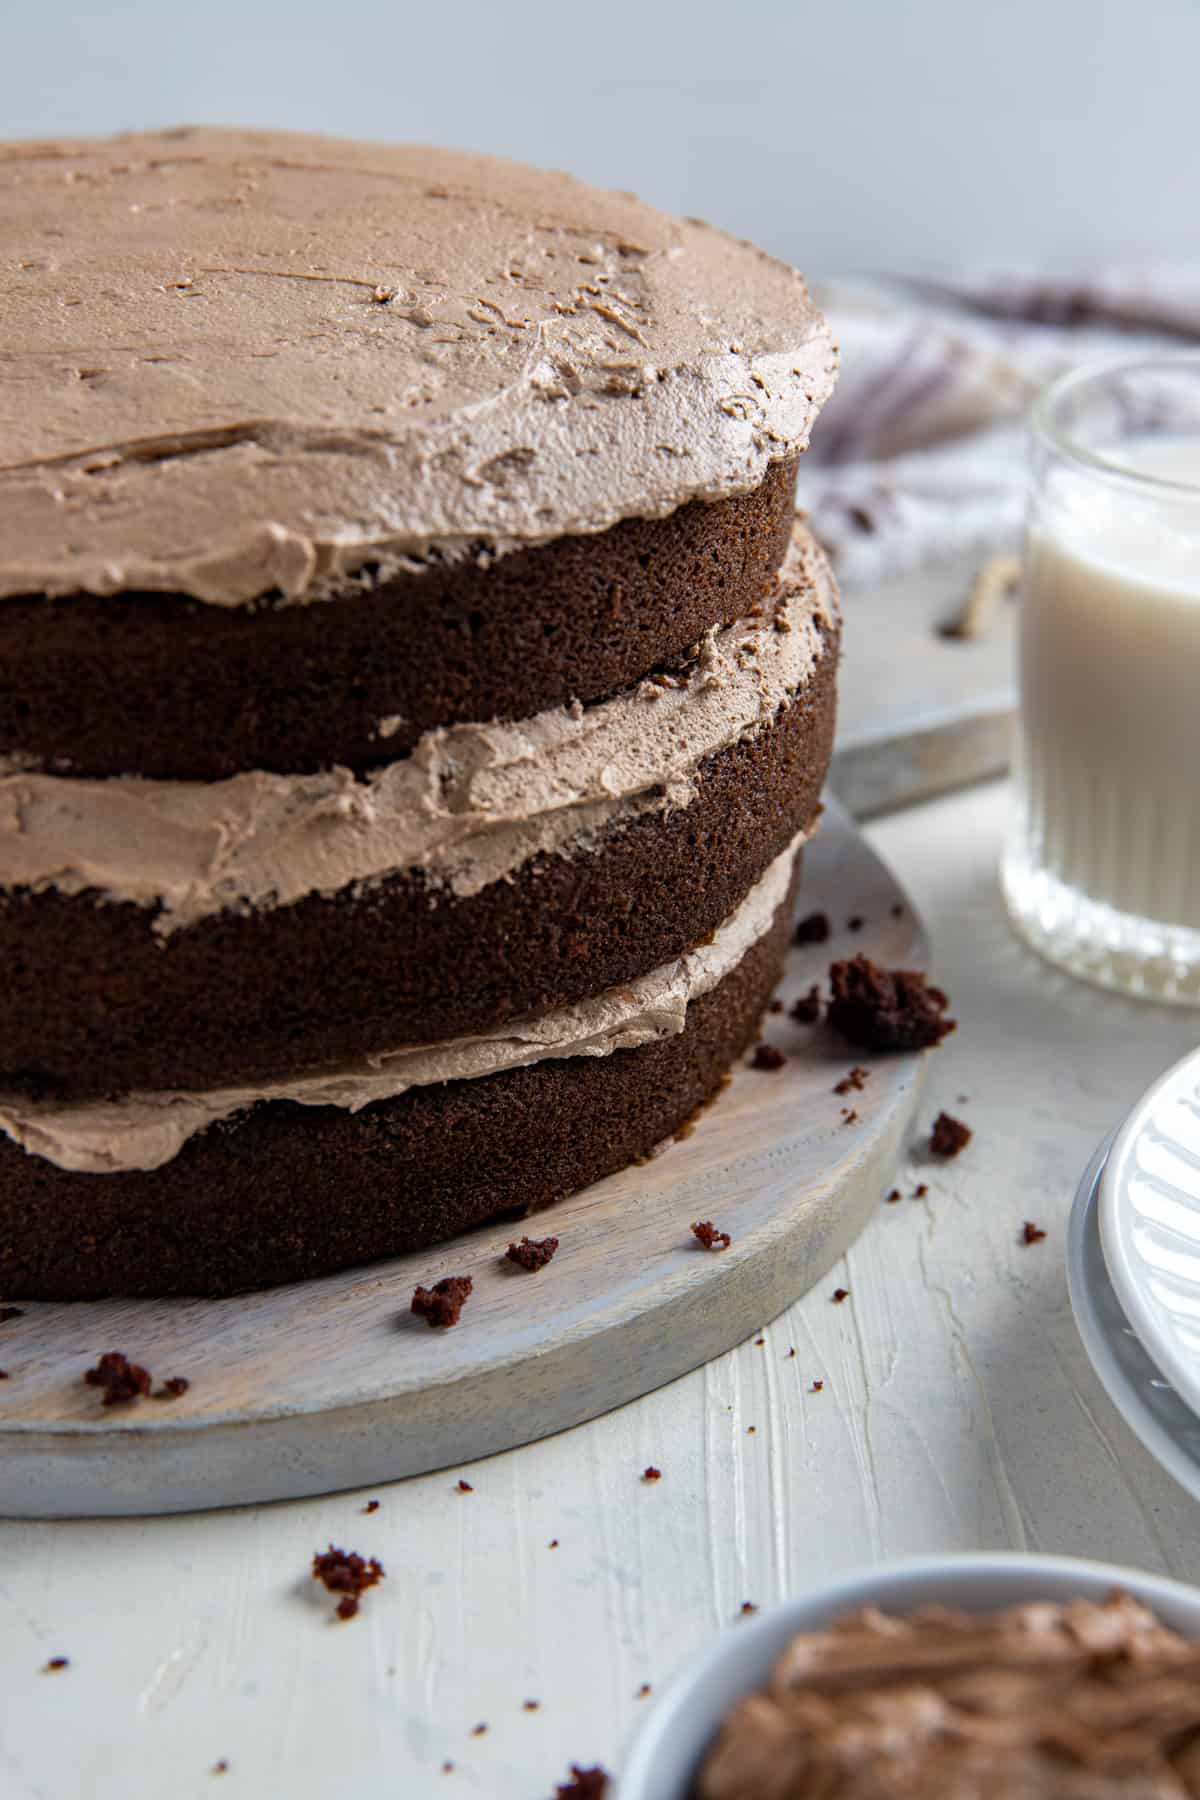
Step 8. Add the frosting between each layer and then top the cake with frosting! I like to leave the sides unfrosted because I think it makes the cake unique and shows off those rich chocolate layers 🙂
How to Make Even Layers
Here are some tips to get those cake layers even. When your cake layers are even, they fit together seamlessly, making assembly much easier. Uneven layers can be challenging to stack and frost evenly, potentially leading to a lopsided or unstable cake.
- If you want perfectly even layers, use a kitchen scale to weigh the batter and ensure each pan gets an equal amount. This is especially important if you're making a multi-layer cake.
- Use an offset spatula to spread the cake batter evenly in each pan and smooth the surface before baking.
- Gently tap each cake pan on the countertop a few times to release any large air bubbles. This helps the cake layers bake more evenly.
- If your cakes have a slight dome or uneven tops, you can use a cake leveler or a serrated knife to trim them to an even height.
Make Ahead Tips
To save time, make the cake layers the day before. Let them cool completely, then cover the pans tightly with foil or plastic wrap. They'll be ready to frost the next day.
You can also make the cake layers and freeze them a month in advance! Make the cake layers but don't frost them. Once the layers have completely cooled, wrap them in plastic wrap and place each layer in a freezer bag. Freeze the cake layers for up to 1 month. When you are ready to assemble the cake, remove the cake layers from the freezer and let them thaw on the countertop. Then, make the frosting and frost the cake layers.
Baking Tips for Success
- Ensure your ingredients are at room temperature for a smoother batter and better texture.
- Don't overmix the batter; mix just until combined to avoid a dense cake.
- Use a toothpick or cake tester to check for doneness; it should come out with a few moist crumbs when inserted into the center.
- Grease and flour your cake pans to prevent sticking. You can also add a round piece of parchment paper to the pans before filling.
Recipe FAQs
I recommend sticking with all-purpose flour for this recipe because that's what I've tested. I don't recommend self-rising flour because the recipe already contains baking powder, baking soda, and salt.
Serve it with vanilla ice cream, whipped cream, or fresh berries. It's also delicious on its own with a hot cup of coffee or a cold glass of milk.
Store your cake on your kitchen counter in an extra large cake holder. Plastic cake holders work best by not only keeping the cake fresh and moist but also keeping the frosting from getting destroyed if the cake were only covered with plastic wrap or foil. The plastic lid is tall enough to not touch the frosting.
More Cake Recipes
If you'd like more easy recipes sent straight to your email, subscribe and get a free 5-day meal plan! How easy is that!
Recipe
3-Layer Chocolate Cake with Buttercream Frosting
Equipment
- Three 8" round cake pans
- Parchment paper
- Large mixing bowls
Ingredients
CHOCOLATE CAKE
- 1 cup unsalted butter, softened to room temperature It takes 30 minutes to 1 hour for butter to soften on countertop.
- 2-½ cups granulated sugar
- 4 large eggs, room temperature It takes about 30 minutes for eggs to come to room temp on countertop.
- 2 teaspoons pure vanilla extract
- 3 cups all-purpose flour
- 2 teaspoons baking soda
- 1 teaspoon baking powder
- ½ teaspoon salt
- 1 cup unsweetened cocoa powder
- 2-¼ cups boiling water
CHOCOLATE BUTTERCREAM FROSTING
- 1 cup unsalted butter, room temperature It takes 30 minutes to 1 hour for butter to soften on countertop.
- ½ cup cocoa powder
- 16 oz powdered sugar
- 1 teaspoon pure vanilla extract
- 1-2 tablespoons whole milk
Instructions
- As a best practice, measure out all the ingredients and read through all the instructions before you begin making the recipe.
- Preheat oven to 350°F. Grease and flour (or spray with Baker's Joy) three 8" round cake pans, then line bottom with round parchment paper. Set aside.
- In a large mixing bowl with your mixer on medium speed, blend the room temperature butter and sugar until creamy (6-7 minutes). Blend in the eggs and vanilla extract until well combined.1 cup unsalted butter, softened to room temperature, 2-½ cups granulated sugar, 4 large eggs, room temperature, 2 teaspoons pure vanilla extract
- In another large mixing bowl, whisk together the flour, baking soda, baking powder, and salt.3 cups all-purpose flour, 2 teaspoons baking soda, 1 teaspoon baking powder, ½ teaspoon salt
- In a medium bowl, mix the cocoa powder and boiling water until no lumps remain.1 cup unsweetened cocoa powder, 2-¼ cups boiling water
- Gradually incorporate the dry ingredients and the hot-water-cocoa mixture into the bowl containing the butter and sugar mixture, alternating between the two. You'll want to have your mixer on low speed for this step.
- Evenly spread the cake batter into the three 8-inch round cake pans, and place them into the oven. Bake 22-28 minutes, or until toothpick inserted in the center of the cake comes out clean (not ooey gooey with cake batter).
- Remove the cake pans from the oven and let them cool on a wire rack for 10 minutes. Then one at a time, turn the cake pans over to release the cakes onto a wire rack to cool completely (20-30 minutes). Cakes should be completely cool before frosting them.
WHILE THE CAKE IS COOLING, PREPARE THE FROSTING:
- In a large mixing bowl, blend the butter and cocoa powder on low speed until smooth.1 cup unsalted butter, room temperature, ½ cup cocoa powder
- Slowly add the powdered sugar (1 cup at a time) and mix on low speed until thoroughly blended.16 oz powdered sugar
- Stir in vanilla and 1 tablespoon of milk. Add an additional tablespoon of milk if the frosting is too thick to spread.1 teaspoon pure vanilla extract, 1-2 tablespoons whole milk
AFTER THE CAKE HAS COMPLETELY COOLED, ADD THE FROSTING:
- To assemble the cake, place one cake layer top side down on a cake plate. Add ⅓ of the frosting to the top of the cake layer and spread it out evenly. You will not frost the sides of the cake; only the top and in between each layer.
- Take another cake layer and level off the rounded top with a knife. Place it on top of the first layer, top side down. Add another ⅓ of the frosting to this layer and spread out evenly.
- Take the third layer and level off the rounded top with a knife. Place it on top of the second layer, top-side down. Spread the remaining frosting on the top layer.
Notes
- Make the cake layers a day ahead. Let them cool completely, then cover them tightly with foil or plastic wrap. They'll be ready to frost the next day.
- Use room-temperature ingredients. Room-temperature butter, eggs, and other refrigerated ingredients blend more smoothly into the batter.
- Measure the flour correctly. Spoon the flour into the measuring cup, then level it off with the back of a knife. Don't scoop the flour directly from the container, which can pack in too much flour.
- Don't overmix the batter. Mix just until everything is combined to help keep the cake tender.
- Divide the batter evenly. For evenly sized cake layers, weigh the batter with a kitchen scale before dividing it among the three pans.
- Don't overbake. Check the cakes with a toothpick; it should come out clean or with a few moist crumbs, but no wet batter.
- Cool completely before frosting. Even slightly warm cake layers can soften or melt your buttercream.
Nutrition
This recipe was originally published in 2020 and was updated in 2026.
Nutritional information is provided as a courtesy to my readers. I'm not a nutritionist and I don't guarantee the accuracy of this data. The data may differ according to the brands I used versus the brands you use. To calculate the data yourself using your brands, try using an online nutrition calculator or app.
Sarah says
Wow! This cake turned out so moist and it was a hit for my sister’s birthday!
Anne Clark says
Hi Sarah! I'm honored you made my cake for your sister's birthday, and I'm so happy everyone enjoyed the cake! Thank you for leaving a nice comment and 5 stars!!
Sue McGee says
Would the ingredients stay the same if I made this in a 9x13 pan?
Anne Clark says
Hi Sue! You will have some batter leftover if you're using a 9 x 13 pan. Generally, you'll have about 3-4 cups of batter leftover. I would not go changing the amounts of any of the ingredients as they have been carefully measured out for three 8-inch pans. You could use the leftover batter for cupcakes or you can actually freeze the remaining cake batter for up to 3 months and use it another time. Hope this helps!
Darrell says
Great recipe for the cake and frosting. I made a 6 layer cake and it came out great. Definitely keeping this one for the books.
My only complaint is you can't post a picture of your creation.
Anne Clark says
Thank you so much for letting me know, Darrell! I would have loved to see a photo of your cake; I'm sure it was a work of art! Are you on Instagram? If so, Mention me @mykitchenserenity or tag me #mykitchenserenity with your cake photo. Too bad Pinterest doesn't allow photos anymore; I used to love going through all the photos people took of when they made one of my recipes 🙂
Diane says
This was the best cake I’ve ever made from scratch. I had all the ingredients on hand. I did add extra milk to the frosting.
Anne Clark says
Hey Diane! Thank you so much for letting me know. This makes me so happy
Michael H. says
Should I double or triple the frosting recipe to have enough to ice the entire cake?
MyKitchenSerenity says
Hi Michael. If you double the frosting recipe you should have plenty to generously cover the sides, too. Thanks for asking! Hope you enjoy ☺️
Chandra Persaud says
Is it possible to get the ingredients in weight please?
MyKitchenSerenity says
Hi Chandra. Thanks for your question. I don't have the means to automatically convert to weight, sorry. I did, however, find a handy weight conversion article on The Spruce Eats website entitled "Weight Conversions for Recipes." I wish you luck - again, I'm sorry I don't have the tools to that automatically.
Erma says
Could you substitute buttermilk for the water?
Anne Clark says
Hi Erma! Thanks for your question. Yes, you can use buttermilk! In order to keep the liquid ratio intact, I would add 3/4 cup buttermilk in Step 2 of the recipe card. Then, I would decrease the boiling water to 3/4 cup. The boiling water really helps to keep the cocoa powder from being lumpy. Keep in touch and let me know how it turns out!
Forgive23 says
This is now my go to chocolate cake recipe of choice! I add instant coffee to the boiling water and chocolate and sometimes a teaspoon of red hot pepper flakes, depending on the intended audience or recipient. Excellent recipe, excellent results each and every time.
Anne Clark says
Thank you so much!! I’m glad you liked it, and really love the idea of adding hot pepper flakes!
Tracy says
I made this cake for my son’s 5th birthday. Made recipe as is. He loves it and it was a great hit at his party!!
Anne Clark says
This makes me so happy! I'm so glad he liked it! Happy birthday to him 🙂 Thank you for letting me know, Tracy.
Kimberly Lavrack says
This is the best chocolate cake I have ever had! It’s dangerous
MyKitchenSerenity says
Wow Kimberly, thank you for your comment! It’s SO hard to eat just one slice at a time. I have almost no willpower with this cake, haha. I’m so glad you liked it.
Darrell says
Thank you for this recipe! I was looking for something to impress my daughter by making it from scratch. This was my first go from scratch and it came out awesome. The only thing I did different because I didn't have a 8 inch round. I split the recipe for two 10 inch pans 2x for a four layers cake and used chocolate pudding between the layers with the frosting on the outside. This cake weighed at least 10 pounds and it was so delicious. I wish I could post a picture of it. My daughter was so happy!
MyKitchenSerenity says
Thank you, Darrell! I’m so happy you and your daughter liked the cake! Sounds like the cake was impressive with four layers and I love the pudding between the layers. Great job! Thank you for letting me know.
Jordan says
Hi, can I use 2- 6" spring form pans?
MyKitchenSerenity says
Hey Jordan! I have not tried this recipe using spring form pans so I simply cannot say. If you decide to use the spring form pans, you'd have to keep a close eye on them as they bake and adjust the time. If you do decide to give it a try, please follow up with me and let me know the outcome. Thanks!
Kimber says
On the recipe for the sugar is it 2 1/2 cups?
MyKitchenSerenity says
Hi Kimber. Yes 2 and 1/2 cups sugar. Hope you enjoy
HannahM says
what is the difference between the capital t and the lower case t?
MyKitchenSerenity says
Hannah, thank you so much for your question! I need to fix this! For now, the lowercase t is teaspoon. The capital T is tablespoon. Again, I appreciate your comment!
Hannah says
I made this cake and it was absolutely the best chocolate cake I’ve ever had/made! My husband said it was the best dessert I’ve ever made! Def a repeat recipe!
MyKitchenSerenity says
WOW Hannah!! Thank you very much! I’m so glad y’all liked the cake!